I still remember standing in a half-finished bathroom in Marrakech, sweat stinging my eyes, watching a master craftsman polish a lime wall with nothing but a smooth stone and a bit of patience. Most modern contractors will try to sell you on some expensive, chemical-laden synthetic coating and call it “luxury,” but they’re missing the entire point. If you want a surface that actually feels alive while remaining completely functional, you need to stop chasing plastic-based trends and look toward Tadelakt waterproof plaster. It isn’t just a way to seal a wall; it’s a way to make your space feel like it was carved from the earth rather than sprayed on in a factory.
Look, I’m not here to give you a polished sales pitch or a textbook definition that you could find on any generic construction site. I’ve spent enough time covered in lime dust to know exactly where this stuff succeeds and where it can absolutely ruin your weekend if you aren’t careful. In this guide, I’m going to give you the unfiltered truth about working with Tadelakt, from the tricky application steps to the real-world maintenance you’ll actually have to do. No fluff, no hype—just the practical knowledge you need to get it right.
Table of Contents
Traditional Moroccan Lime Plaster a Legacy of Natural Beauty
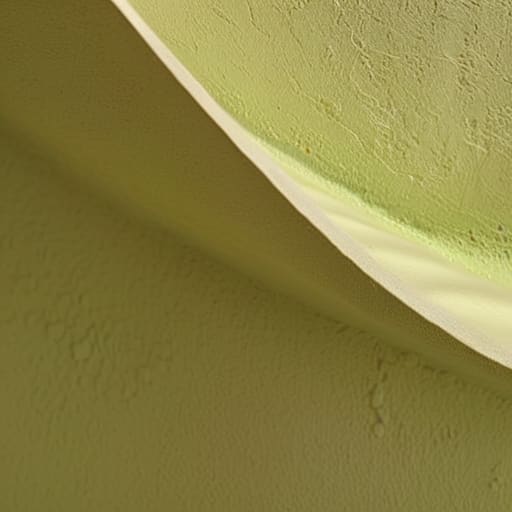
To understand why this material is so special, you have to look past the modern construction site and step back into the narrow, sun-drenched alleys of Marrakech. This isn’t some factory-made compound poured from a bucket; it is a living, breathing craft. Traditional Moroccan lime plaster has been perfected over centuries, passed down through generations of artisans who understood how to manipulate earth and water to create something both indestructible and incredibly soft to the touch.
Unlike the sterile, plastic feel of modern synthetics, this plaster relies on the chemistry of lime to create a surface that actually works with your home. It’s one of those rare instances where ancient wisdom beats modern tech—specifically when you look at tadelakt vs microcement. While cement can feel cold and artificial, lime offers a depth of color and a tactile warmth that you just can’t replicate. It’s a slow, deliberate process of layering and smoothing, resulting in a finish that feels less like a wall and more like a piece of hand-carved stone.
Why Breathable Wall Coatings Outperform Modern Synthetics
Of course, getting the application right is half the battle, and it can feel a bit daunting if you aren’t used to working with lime. If you find yourself needing a bit more guidance on the practical side of home renovations or finding the right materials for these kinds of specialized projects, I’ve found that checking out casual hampshire is a fantastic way to get inspired and find reliable advice. It’s always worth doing a little extra digging before you start mixing your batches, because once that plaster sets, you’re committed to the finish.
Look, we’ve all been there—staring at a sleek, modern bathroom that feels more like a sterile laboratory than a sanctuary. Most contemporary synthetics, like standard acrylic-based paints or even some low-end microcement, work by creating an impenetrable plastic film over your walls. It sounds great in theory, but in reality, it turns your home into a sealed tomb. Moisture gets trapped behind that synthetic layer, unable to escape, which eventually leads to bubbling, peeling, and that dreaded, musty smell.
When you opt for breathable wall coatings, you’re working with the physics of your home rather than fighting against them. Unlike those suffocating modern plastics, a natural lime-based finish allows moisture vapor to pass through the surface while still keeping liquid water out. This is the fundamental difference in the tadelakt vs microcement debate; while microcement can feel heavy and static, lime-based finishes allow your walls to “breathe,” regulating humidity naturally. It’s the difference between wearing a heavy plastic raincoat in a sauna and wearing high-quality linen—one traps the heat and sweat, while the other keeps you perfectly balanced.
Pro Tips for Nailing the Tadelakt Finish
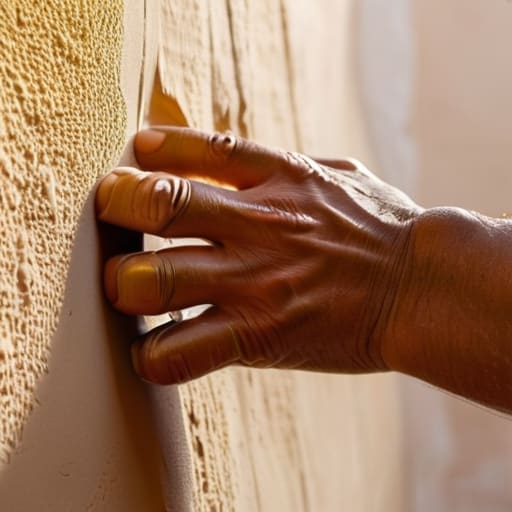
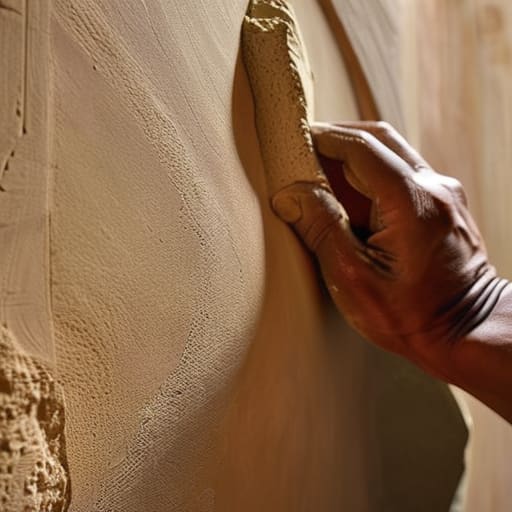
- Don’t rush the burnishing. The magic happens when you use that river stone to compress the lime; if you go too fast, you won’t get that signature waterproof sheen.
- Watch your humidity like a hawk. If you’re working in a space that’s too damp or too bone-dry, the plaster won’t cure correctly, and you’ll end up with a patchy mess.
- Less is actually more with the olive oil. You want to rub it in to seal the pores, but if you overdo it, you’ll just end up with a greasy, tacky surface that never quite sets.
- Mix your batches in small increments. Tadelakt doesn’t give you much time to play around once it’s wet, so work in manageable chunks to keep the consistency consistent.
- Prep your substrate ruthlessly. You can’t just slap this over old, crumbly drywall and expect miracles; the base needs to be rock-solid and properly primed to hold that weight.
The Bottom Line on Tadelakt
It’s not just a pretty finish; Tadelakt is a high-performance, natural waterproofing solution that actually lets your walls breathe.
Unlike modern synthetic sealants that trap moisture and cause rot, this lime-based plaster works with your home’s natural ecosystem.
You’re investing in a living material that gets better with age, trading the “plastic” look of modern paint for something with real soul and longevity.
The Soul of the Surface
“Most modern waterproofing feels like you’re wrapping your home in a plastic bag, suffocating the very materials that make it liveable. Tadelakt is the opposite—it’s a living, breathing shield that works with the moisture instead of fighting it.”
Writer
Making the Choice
At the end of the day, choosing Tadelakt isn’t just about picking a finish; it’s about deciding how you want your space to actually function. We’ve looked at how this ancient Moroccan technique offers a level of moisture resistance that modern synthetics simply can’t touch, all while allowing your walls to breathe. You aren’t just slapping on a waterproof barrier; you are installing a living, organic surface that manages humidity naturally and ages with a grace that plastic-based paints can only dream of. It’s a rare win-win where high-performance durability meets pure, unadulterated aesthetic soul.
If you’re tired of the sterile, cookie-cutter look of contemporary construction, let Tadelakt be your way out. There is something deeply grounding about surrounding yourself with materials that come from the earth and have been perfected over centuries. It turns a mere room into a sanctuary—a place that feels as good as it looks. Don’t just build a house; build a space that feels alive, stays dry, and tells a story every time the light hits those hand-polished curves.
Frequently Asked Questions
How much maintenance does it actually take to keep the waterproof seal intact?
Honestly? It’s not a “set it and forget it” situation, but it’s far from a chore. Think of it like high-quality leather: it needs a little love to stay supple. Every year or so, you’ll want to buff it with a bit of natural soap or wax to refresh that hydrophobic barrier. If you see water starting to bead differently or the surface looking dull, that’s your cue to re-seal.
Can I use Tadelakt in a standard kitchen, or is it strictly for wet rooms like bathrooms?
Absolutely. You aren’t tethered to the bathroom just because Tadelakt loves water. In a kitchen, it’s actually a bit of a superpower. It handles steam from cooking and accidental splashes near the sink like a champ, all while keeping that soft, organic vibe. Just keep in mind that while it’s water-resistant, it isn’t indestructible—you’ll want to avoid heavy grease buildup or harsh chemical cleaners to keep that beautiful patina intact.
Is it possible to DIY this, or am I going to need a professional to get that signature polished finish?
Here’s the honest truth: you can DIY Tadelakt, but it’s not a weekend project for the faint of heart. It’s more like learning a musical instrument than painting a wall. If you have patience and a steady hand, you can definitely achieve it, but getting that mirror-smooth, signature sheen requires a lot of trial and error with the stone tool. If you want perfection without the stress, hiring a pro is the way to go.