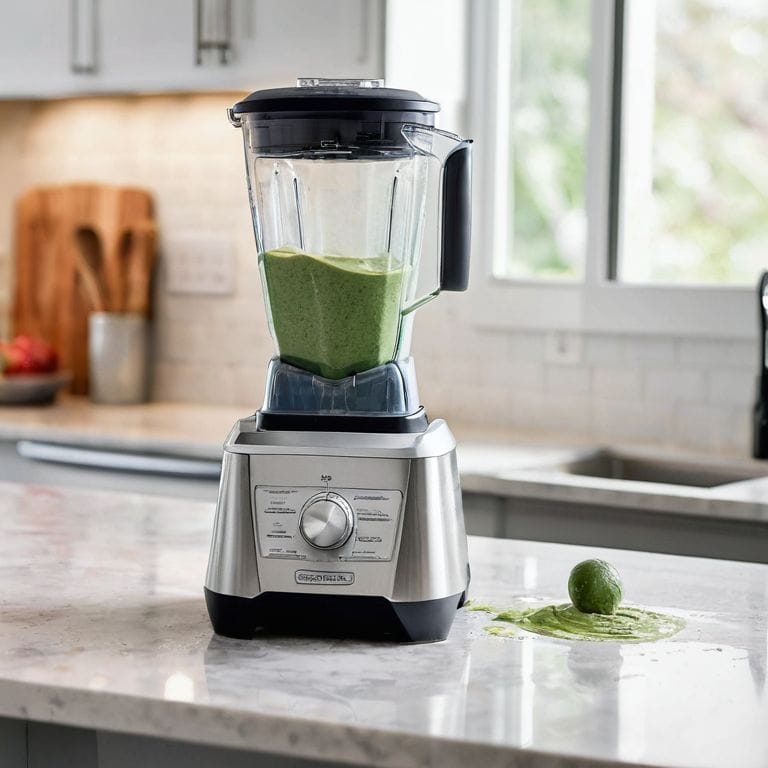
I still remember the day I realized that my blender was secretly a petri dish for bacteria. I had been using it to whip up smoothies and puree soups for years, but it wasn’t until I took it apart for a deep clean that I discovered the horrifying truth: a thick layer of grime and food residue had built up inside. It was then that I learned the importance of how to clean your blender properly. It’s not just about tossing some soap and water in there, but about truly sanitizing the thing to prevent the growth of unwanted microorganisms.
As someone who’s obsessed with good design and user experience, I’ve always been frustrated by the lack of clear guidance on how to clean blenders. That’s why I’m excited to share my own no-nonsense approach to blender cleaning with you. In this article, I’ll walk you through the simple, yet effective steps to get your blender sparkling clean and functioning at its best. From the basics of disassembly to the best cleaning solutions to use, I’ll give you the honest, hype-free advice you need to keep your blender in top condition. Whether you’re a smoothie enthusiast or a culinary novice, this guide will show you how to clean your blender properly and keep it that way.
Table of Contents
Guide Overview: What You'll Need

Total Time: 30 minutes
Estimated Cost: $0 – $10
Difficulty Level: Easy
Tools Required
- Soft brush (for removing stubborn particles)
- Dish soap (mild detergent)
- Warm water (for soaking and cleaning)
- Microfiber cloth (for drying)
- Long-handled brush (for cleaning blender blades, approximately 10 inches long)
Supplies & Materials
- Baking soda (for removing odors)
- White vinegar (for descaling and sanitizing)
- Lemon juice (optional, for cleaning and freshness)
Step-by-Step Instructions
- 1. First, let’s get started with the basics – blender disassembly. You’ll want to take apart any removable parts, such as the blades, gasket, and lid. This is where things can get a bit tricky, so make sure you have a clear understanding of how your specific blender comes apart. I like to lay out all the components on a clean towel to keep track of everything.
- 2. Next, it’s time to tackle the tough stuff – any stuck-on food or residue. I recommend soaking all the parts in a mixture of warm water and mild dish soap for about 30 minutes. This will help loosen up any stubborn bits, making them easier to clean. Just be sure to avoid using any abrasive materials that could scratch your blender’s surface.
- 3. Now that the parts have had a chance to soak, it’s time to get scrubbing. I like to use a soft-bristled brush or a non-abrasive scrubber to gently remove any remaining food particles. Be sure to pay special attention to the blades and any other areas with tiny crevices where food can accumulate. A clean blade is essential for optimal blender performance.
- 4. With all the parts clean, it’s time to rinse them thoroughly with warm water. I like to use a gentle stream of water to remove any remaining soap residue. This is also a good opportunity to inspect your blender’s parts for any signs of wear or damage. If you notice any worn-out seals or damaged components, it may be time to consider replacing them.
- 5. Once everything is clean and rinsed, it’s time to dry your blender’s parts. I recommend using a soft towel to gently pat each component dry, paying extra attention to any areas with small crevices or holes. This will help prevent water spots from forming and reduce the risk of bacterial growth.
- 6. Now that your blender is clean and dry, it’s time to reassemble everything. Make sure all the parts are securely in place and that the blender is functioning properly. I like to give my blender a quick test run with some water or a small amount of food to ensure everything is working smoothly.
- 7. Finally, to keep your blender in top condition and prevent any future cleaning headaches, I recommend establishing a regular maintenance routine. This can be as simple as cleaning your blender after each use or setting aside some time each week to give it a thorough cleaning. By staying on top of maintenance, you’ll be able to enjoy your blender for years to come without any issues.
Clean Blender Guaranteed

To take your blender maintenance to the next level, consider implementing a blender cleaning schedule. This can be as simple as setting a reminder to clean your blender every week, or after a particularly messy blending session. By doing so, you’ll prevent the buildup of stubborn stains and bacteria, making the cleaning process much easier in the long run. I’ve found that natural blender cleaning agents like lemon juice and vinegar can be super effective in keeping my blender in top shape.
When it comes to removing stubborn stains, it’s all about gentle yet firm scrubbing. Avoid using abrasive materials that can scratch the blender’s surface, and instead opt for a soft sponge or cloth. For tougher stains, you can try soaking the affected parts in a mixture of warm water and mild detergent. This will help loosen the grime, making it easier to wipe away. Remember to always sanitizing blender parts after cleaning to prevent any lingering bacteria from multiplying.
By following these extra tips, you’ll be well on your way to enjoying a cleaner, healthier blender. One common mistake to avoid is neglecting to clean the blender’s lid and seal, which can harbor bacteria and affect the overall performance of the appliance. Stay on top of your blender maintenance tips, and you’ll be blending like a pro in no time. With a little practice and patience, you’ll be able to keep your blender in pristine condition, and it will continue to serve you well for many years to come.
Blender Maintenance Tips Revealed
Now that we’ve got the cleaning part down, let’s talk about maintaining that sparkle. I’m obsessed with keeping my blender in top shape, and it’s all about the little things. Regularly wiping down the base and cords, checking for any blockages in the blades, and giving it a quick rinse after each use can make all the difference. It’s not just about hygiene; a well-maintained blender performs better and lasts longer. Trust me, I’ve seen my fair share of blenders go from sleek to clunky in a matter of months due to neglect. Worth the Hype? Absolutely, if you’re willing to put in the minimal effort required to keep your blender running like new.
Sanitizing Blender Parts Naturally
To take your blender’s cleanliness to the next level, I’m a big fan of sanitizing its parts naturally. I mean, who needs harsh chemicals when you’ve got vinegar and lemon juice, right? For a quick and effective sanitizing session, I fill the blender with equal parts water and white vinegar, then blend on high for about 10 seconds. This trick not only removes any lingering bacteria but also leaves my blender smelling fresh.
For tougher parts like the blades and seals, I swear by a mixture of lemon juice and baking soda. It’s a game-changer for breaking down any stubborn stains or residue. Worth the Hype? Absolutely – this natural sanitizing method is a total winner in my book.
Blender Cleaning Hacks: 5 Tips to Keep it Fresh
- Daily wipe-downs are a must: after each use, give your blender a quick wipe with a damp cloth to prevent stubborn stains
- Get familiar with your blender’s parts: understanding how to disassemble and reassemble your blender is key to a deep clean, so don’t be afraid to get a little hands-on
- Soap and warm water are your friends: for a more thorough clean, mix a small amount of mild soap with warm water, and use a soft-bristled brush to gently scrub away any lingering debris
- Don’t forget the blender’s seal and gasket: these areas are prone to mold and mildew, so be sure to give them a little extra TLC with a mixture of equal parts water and white vinegar
- A monthly deep clean is essential: set a reminder to give your blender a thorough cleaning once a month, including sanitizing all parts and letting them air dry to prevent water spots
Worth the Hype? 3 Key Takeaways for a Sparkling Clean Blender
Proper blender maintenance is not just about hygiene, it’s about preserving the longevity and performance of your appliance – and let’s be real, who doesn’t want that?
Sanitizing your blender parts naturally is a total game-changer, and I’m obsessed with the idea of ditching harsh chemicals for a more holistic approach to cleaning
A clean blender is just the beginning – by incorporating these simple tips into your daily routine, you’ll be well on your way to a more streamlined kitchen and a better relationship with your appliances, and that’s what I call a win-win
The Cleaning Connoisseur's Creed
A clean blender isn’t just a matter of hygiene, it’s a declaration of respect for the craft of cooking – and for the sake of your taste buds, don’t settle for anything less than sparkling.
Julian Grey
Cleaning Your Blender: The Bottom Line

As we’ve walked through the process of cleaning your blender, it’s clear that a little elbow grease and the right techniques can make all the difference. From the initial steps of dismantling and washing, to the sanitizing of parts and regular maintenance, each phase is crucial in ensuring your blender not only performs at its best but also remains a safe and healthy addition to your kitchen. By following these guidelines, you’re not just cleaning an appliance, you’re investing in your well-being and the quality of your culinary creations.
In the end, it’s about more than just a clean blender – it’s about embracing a mindset that values quality over quantity and understands the impact that everyday items can have on our lives. By taking the time to properly care for your belongings, like your trusty blender, you’re contributing to a lifestyle that’s more mindful, more sustainable, and undoubtedly more satisfying. So, the next time you blend your favorite smoothie, remember, it’s not just about the taste, but about the journey – and the clean, well-maintained blender that made it possible.
Frequently Asked Questions
What's the best way to remove stubborn stains from my blender's pitcher?
For those pesky stains, I swear by a mixture of equal parts water and white vinegar. Soak the pitcher for about an hour, then scrub with a non-abrasive sponge. If the stain’s still being stubborn, let it sit overnight and tackle it in the morning. Trust me, it’s a game-changer – Worth the Hype? Absolutely!
Can I put my blender parts in the dishwasher for a deeper clean?
Honestly, I’d advise against it – the high heat can damage some blender parts. Instead, opt for a gentle cycle with a mild detergent or stick to hand washing for a deeper clean that preserves your blender’s lifespan. Trust me, it’s worth the extra effort to keep your blender in top shape. Worth the Hype? Yes, if you do it right.
How often should I be cleaning my blender to prevent bacterial growth?
Honestly, I clean my blender after every use to avoid any bacterial buildup. But, if you’re looking for a more realistic schedule, I’d say a deep clean once a week should do the trick – Worth the Hype? Absolutely, a clean blender is a happy blender!


