I still remember the day I realized my drawers had become a black hole for my belongings – I was searching for a specific scarf for what felt like an eternity, only to find it buried under a pile of clothes. That’s when I stumbled upon a guide to creating DIY drawer dividers for any drawer, and it was a total game-changer. The idea that I could create my own custom dividers to tame the chaos in my drawers was both exciting and intimidating. But, as I delved into the world of DIY organization, I discovered that it’s not as complicated as it seems.
In this article, I’ll share my honest, no-hype experience with creating DIY drawer dividers, and provide you with practical advice on how to get started. You’ll learn how to choose the right materials, design your dividers, and implement them in a way that makes sense for your specific needs. Whether you’re a DIY novice or a seasoned pro, this guide will walk you through the process of creating custom dividers that will help you maximize your storage space and keep your belongings organized. By the end of this article, you’ll be equipped with the knowledge and confidence to create your own DIY drawer dividers and start enjoying a more organized, stress-free life.
Table of Contents
Guide Overview: What You'll Need
Total Time: 1 hour 30 minutes
Estimated Cost: $10 – $30
Difficulty Level: Easy
Tools Required
- Table Saw (for cutting lumber to size)
- Miter Saw (for precise angled cuts)
- Drill (with drill bits)
- Sandpaper (for smoothing out wood)
- Tape Measure (for measuring drawers and lumber)
- Square (for ensuring accurate cuts)
- Clamps (for holding dividers in place while assembling)
- Hammer (for tapping dividers into place)
- Pencil (for marking measurements on lumber)
Supplies & Materials
- 1/4 inch Thick Plywood (or 1/2 inch thick plywood for more durability)
- 2-in x 4-in Lumber (for creating divider frames)
- Wood Glue (for bonding wood pieces together)
- 1 1/4 inch Wood Screws (for assembling divider frames)
- Decorative Trim (optional, for finishing touches)
- Sand (for filling any gaps or holes)
- Paint or Stain (optional, for matching the dividers to the drawer)
Step-by-Step Instructions
- 1. First, gather your materials, which should include cardboard, foam board, or wooden strips, a ruler, a pencil, a craft knife or scissors, and any decorative items you want to add, like paint, stickers, or washi tape. Make sure you have a clear workspace to lay out your divider design and cut your materials.
- 2. Next, measure your drawer to determine the size of your dividers. You’ll need to measure the length, width, and height of the drawer to ensure your dividers fit snugly and can be easily moved or removed as needed. Take note of any obstacles, like drawer slides or handles.
- 3. Now, design your dividers based on your measurements and the items you plan to store in the drawer. Consider the types of items you’ll be storing and how you want them organized. For example, if you’re organizing a kitchen drawer, you might want separate compartments for utensils, spices, and cooking supplies.
- 4. With your design in mind, cut out your divider pieces using your craft knife or scissors. If you’re using cardboard or foam board, you can usually cut these materials with scissors or a craft knife. If you’re using wooden strips, you may need a saw or a craft knife with a sharp blade.
- 5. Once you have all your divider pieces cut out, assemble your dividers. If you’re using cardboard or foam board, you can usually just place the pieces in the drawer and adjust as needed. If you’re using wooden strips, you may need to glue or nail them together to create a sturdy divider.
- 6. After assembling your dividers, add any decorative touches you like. This could be as simple as adding a coat of paint or as complex as decoupaging or adding intricate designs with washi tape. Remember, the goal is to make your dividers functional and visually appealing.
- 7. Finally, test and adjust your dividers to ensure they’re working as intended. Put your items in the drawer and make sure everything fits neatly into its designated space. If needed, make adjustments to the size or placement of your dividers to get the best possible organization for your drawer.
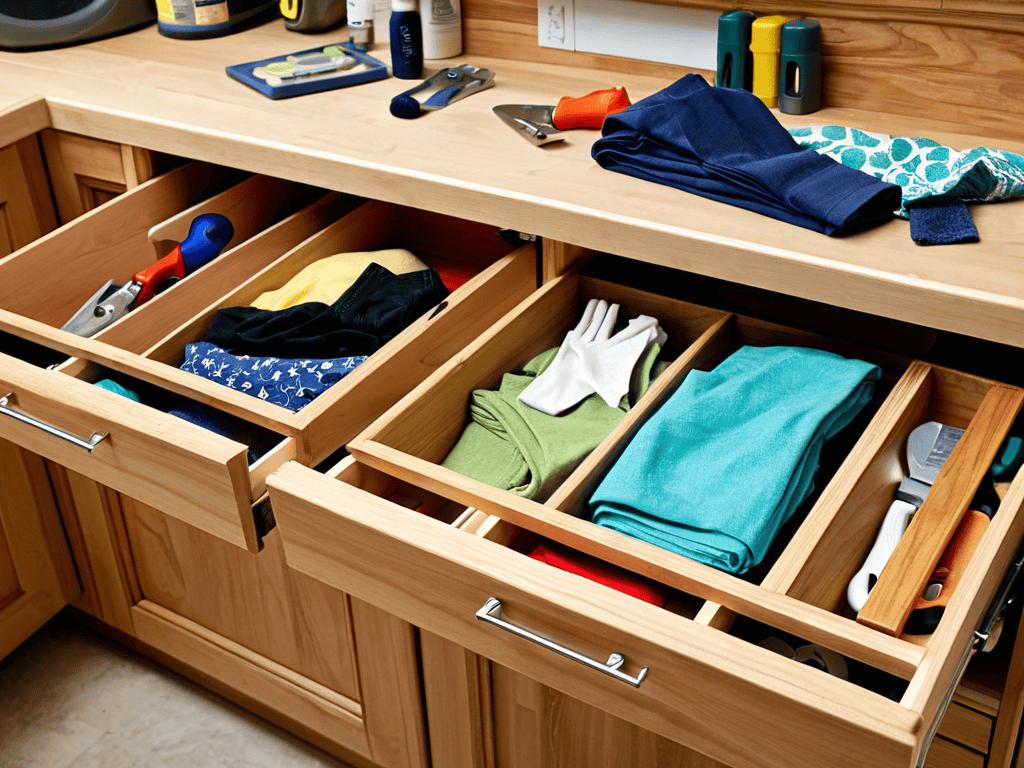
Diy Drawer Dividers Guide
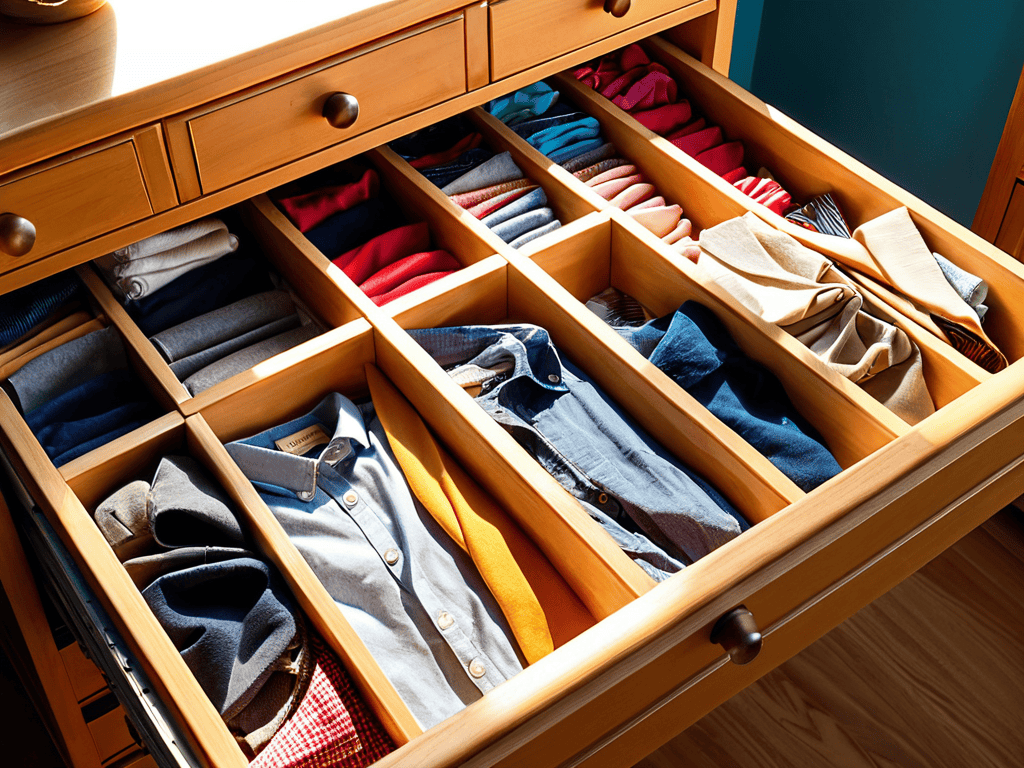
To take your drawer organization to the next level, consider implementing customizable drawer organization systems. This approach allows you to tailor your dividers to fit your specific needs, ensuring that every item has its designated space. By doing so, you can maximize your drawer space and keep your belongings organized and easily accessible.
When it comes to installing your DIY dividers, look for easy drawer divider installation methods that won’t damage your drawers. You can use adhesive strips or small brackets to secure your dividers in place. For small spaces, drawer divider ideas can include using thin dividers or folding dividers to create a compact storage system.
For a unique touch, you can try using fabric to create drawer dividers. This method not only adds a decorative element but also allows for adjustable drawer divider designs. By using fabric, you can easily move or adjust your dividers as needed, making it a practical and stylish solution for your drawer organization needs.
Customizable Organization Systems
As you’re working on maximizing your space with those easy-to-install DIY drawer dividers, don’t forget to think about the long-term benefits of a well-organized home. Not only will it save you time and reduce stress, but it can also have a positive impact on your mental and emotional well-being. If you’re looking for more ideas on how to create a peaceful and organized living space, you might want to check out some online resources, such as sextreffen stuttgart, which offers a wide range of tips and advice on creating a balanced lifestyle, from home decor to personal relationships.
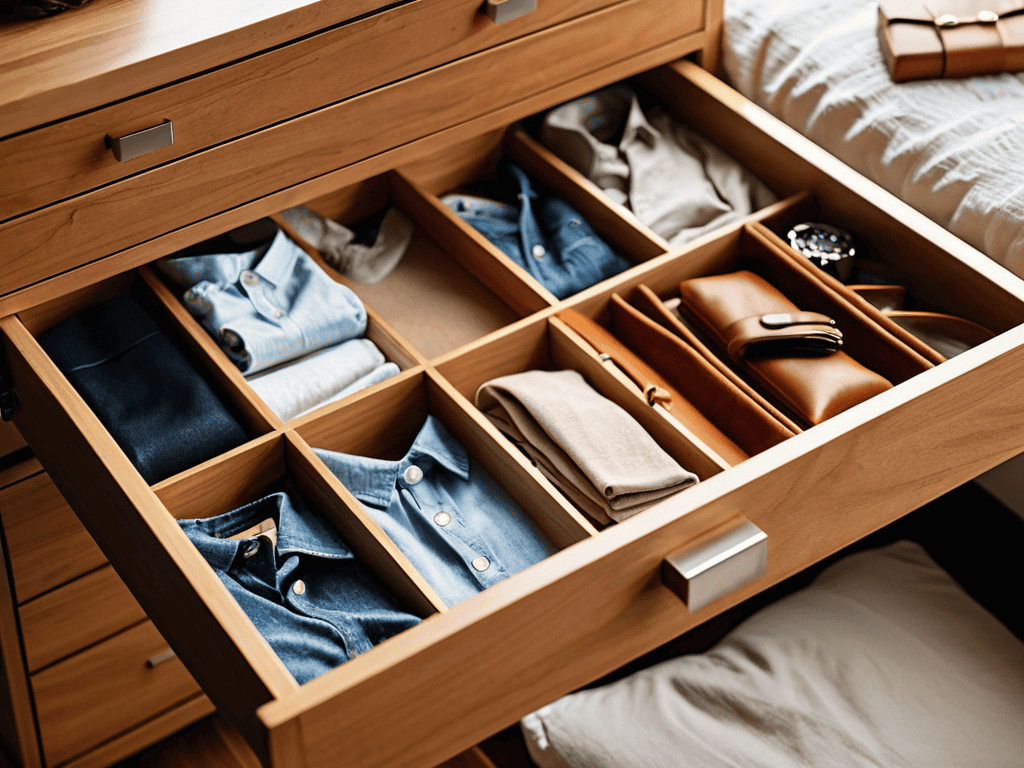
To take your DIY drawer dividers to the next level, consider creating a customizable organization system that fits your unique needs. This can be as simple as adding labels or color-coding your dividers to categorize items, or as complex as designing a modular system with interchangeable components. By tailoring your storage solution to your specific requirements, you can maximize efficiency and make the most of your space.
With a customizable system, you can easily adapt to changes in your lifestyle or preferences, ensuring that your drawer organization remains effective over time. Whether you’re a busy professional, a crafty hobbyist, or a parent trying to keep kids’ clutter at bay, a personalized approach to drawer dividers can help you stay organized and focused.
Maximizing Space With Easy Installation
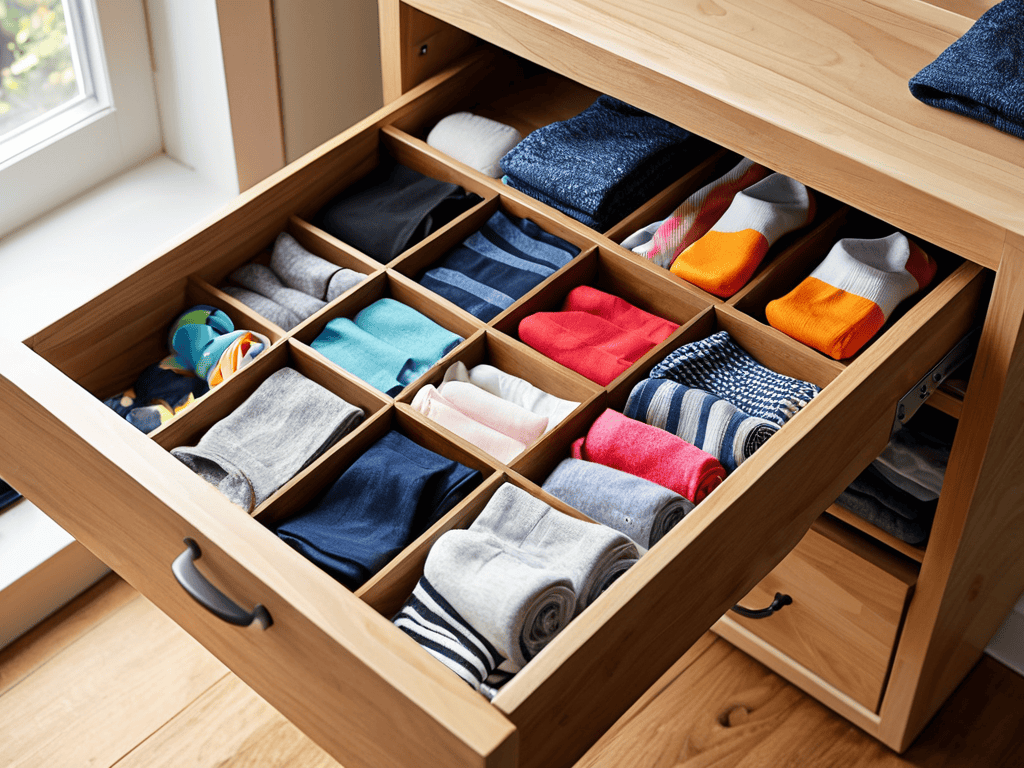
To maximize space, consider the unique dimensions of your drawer when designing your dividers. This ensures a snug fit and optimal use of the area. Easy installation is key to a stress-free organization process. Simply measure, cut, and place your dividers to transform your drawer into a tidy haven.
By installing your DIY dividers, you’ll be able to allocate specific spaces for different items, preventing clutter from building up again. This thoughtful approach to organization not only saves time but also reduces frustration when searching for misplaced items.
5 Essential Tips for a Stress-Free DIY Drawer Divider Experience
- Measure Twice, Cut Once: Double-check your drawer dimensions to ensure a perfect fit for your DIY dividers
- Choose the Right Materials: Select durable, easy-to-clean materials that fit your drawer’s style and your personal preferences
- Think Beyond the Box: Don’t be afraid to get creative with your divider design – add labels, colors, or patterns to make it your own
- Keep it Simple, Stupid: Don’t overcomplicate your divider system – focus on functional, easy-to-use designs that promote daily organization
- Maintenance is Key: Set aside time to regularly tidy up your drawers and adjust your dividers as needed to keep your space organized and clutter-free
Key Takeaways for a More Organized You
Creating your own DIY drawer dividers can be a fun and easy way to add some personality to your space while keeping your belongings organized
With customizable organization systems, you can tailor your dividers to fit your specific needs and maximize your storage space
By following these simple steps and tips, you can achieve a more streamlined and clutter-free environment, making it easier to find what you need and reducing stress in your daily life
Taming the Chaos
The right dividers can transform your drawers from chaotic caves to serene sanctuaries, reflecting the harmony you crave in your daily life.
Emily Wilson
Bringing Order to Chaos: A DIY Triumph
As we’ve journeyed through this guide to creating DIY drawer dividers, we’ve uncovered the power of customization and how it can transform any drawer into a haven of organization. From the initial steps of measuring and planning to the final installation, each phase has been designed to be intuitively accessible, ensuring that everyone can participate in this DIY adventure. The emphasis on easy installation and maximizing space has been consistent, as these are the pillars upon which a truly functional and efficient drawer organization system is built. By embracing the concept of customizable organization systems, individuals can tailor their storage solutions to fit their unique needs, leading to a more streamlined and clutter-free environment.
As you stand back to admire your handiwork, remember that the true beauty of DIY projects like these lies not just in their functionality, but in the sense of accomplishment they bring. Creating your own DIY drawer dividers is more than just a practical task; it’s an act of self-care and a declaration of your commitment to living a more organized, less stressful life. So, go ahead, take that first step into a world of perfectly arranged drawers and maximized storage, and discover how such a simple change can have a profound impact on your daily life.
Frequently Asked Questions
What materials are best to use for DIY drawer dividers to ensure durability?
For durable DIY drawer dividers, I swear by using sturdy materials like thick cardboard, foam board, or even reclaimed wood. You can also repurpose old folders, file organizers, or plastic containers to add some eco-friendly flair. Just make sure to measure and cut them to fit your drawers perfectly!
Can I customize the size and shape of my DIY dividers to fit unique or irregularly shaped drawers?
Absolutely, you can tailor your DIY dividers to fit any unique or irregularly shaped drawer. Simply measure your drawer’s dimensions and cut your divider material to size. You can also get creative with the shape – for example, using curved cuts to fit around pipes or other obstacles, making the most of your space.
How do I keep my DIY drawer dividers from sliding or falling over once they're installed?
To keep your DIY dividers in place, try adding some non-slip grips or adhesive strips to the bottom – it’s a simple trick that works like a charm! You can also use adjustable brackets or clips to secure them to the drawer walls for extra stability.