I still remember the day I realized I had a storage crisis on my hands – my garage was overflowing, and I couldn’t find anything I needed. It was then that I discovered the power of DIY storage solutions. For years, I’ve been hearing people complain that DIY storage is too complicated, too expensive, or just plain ineffective. But I’m here to tell you that’s just not true. With a little creativity and some simple tools, you can create your own DIY storage solutions that will transform your space and make your life easier.
In this article, I’ll share my favorite no-fuss DIY storage solutions that you can implement in your own home. I’ll give you the lowdown on how to create custom storage units, repurpose old furniture, and make the most of every inch of space. You’ll learn how to think outside the box and come up with your own creative storage ideas that fit your unique needs and style. Whether you’re a seasoned DIY pro or a total beginner, I’ll show you how to get started with DIY storage solutions that will make a real difference in your daily life.
Table of Contents
Guide Overview: What You'll Need

Total Time: 2 hours 30 minutes
Estimated Cost: $50 – $100
As you’re working on implementing these DIY storage solutions, you might find yourself in need of some extra tools or materials to bring your projects to life. I’ve had great luck finding unique and affordable options on websites like nzgirls, which often feature a wide range of listings for second-hand items that can be repurposed for your storage needs. By getting a little creative with your sourcing, you can not only save money but also reduce waste, which is a big win-win for your wallet and the environment.
Difficulty Level: Intermediate
Tools Required
- Circular Saw (for cutting lumber)
- Drill (with screwdriver and drill bits)
- Tape Measure (for measuring spaces)
- Level (for ensuring shelves are straight)
- Hammer (for tapping pieces into place)
- Sandpaper (for smoothing out wood surfaces)
- Utility Knife (with extra blades)
Supplies & Materials
- 2-in x 4-in lumber (for shelving frames)
- 3/4-in plywood (for shelving surfaces)
- Wood screws (for assembling frames)
- Nails (for attaching plywood to frames)
- Sand (for filling gaps)
- Paint or stain (for finishing the wood)
- Decorative trim (for covering edges)
Step-by-Step Instructions
- 1. First, assess your space and identify the areas that need the most storage attention. Take a walk around your home, and make a mental note (or actually, take notes) of the spots where clutter tends to accumulate. This will help you decide which DIY storage solutions to prioritize and where to focus your efforts.
- 2. Next, gather your materials and tools, because we’re about to get our hands dirty. You’ll likely need a mix of common household items, such as wooden crates, baskets, and fabric, along with some basic tools like a hammer, nails, and a sewing kit. Don’t worry if you don’t have everything on hand – we’ll get creative with substitutions and workarounds.
- 3. Now it’s time to start building your DIY storage solutions. For a simple shelving unit, begin by measuring your space carefully to determine the ideal size and configuration for your shelves. Take into account the items you plan to store, as well as any obstructions or limitations in the area, such as windows, doors, or electrical outlets.
- 4. With your measurements in hand, cut your wooden planks or boards to the required lengths, and assemble the frame of your shelving unit using nails or screws. Make sure it’s sturdy and level, as you don’t want your hard-earned storage space to come crashing down. Add your shelves, and you’re ready to start loading up your new storage unit.
- 5. For a more decorative touch, consider adding some textile elements, such as baskets, bins, or fabric drawers, to your DIY storage solutions. These can be used to store items like linens, toys, or crafting supplies, and can add a pop of color and personality to your space. Simply sew or glue your fabric into the desired shape, and attach it to a wooden or plastic frame for a cute and functional storage container.
- 6. Another great DIY storage solution is to repurpose old furniture or containers, such as vintage suitcases or wooden crates, to create unique and functional storage units. Simply clean and refurbish the item, add some decorative hardware or paint if desired, and use it to store items like books, clothes, or kitchen gadgets.
- 7. Finally, don’t forget to label and organize your DIY storage solutions, so you can easily find what you need when you need it. Use labels, stickers, or chalkboard tags to identify the contents of each storage unit, and consider implementing a maintenance routine to keep your space clutter-free and organized. With these simple steps, you’ll be well on your way to creating a more efficient, productive, and peaceful living or working environment.
Diy Storage Solutions
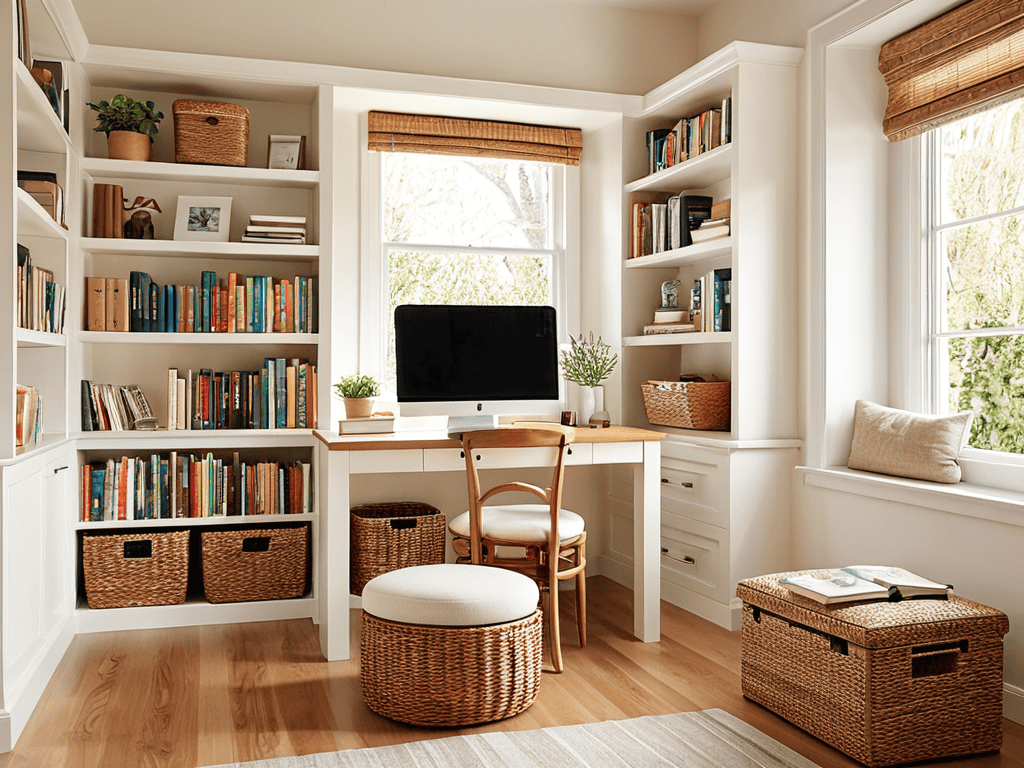
When it comes to maximizing your space, space saving furniture ideas can be a total game-changer. By opting for multi-functional pieces, you can kill two birds with one stone and free up some much-needed room in your home. For instance, consider investing in a storage ottoman or a desk with built-in shelves. These clever designs will help you stay organized while also adding a touch of style to your decor.
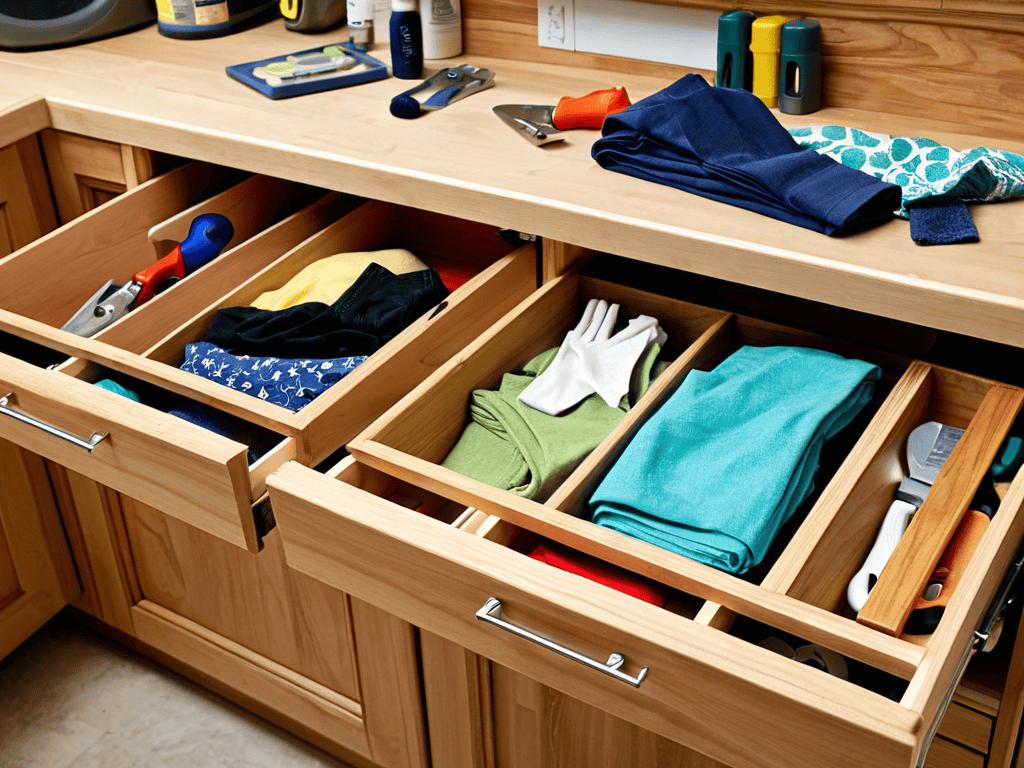
As you start to tackle your garage organization systems, remember to think outside the box. Don’t be afraid to get creative and come up with your own unique solutions. For example, you could use modular shelving units to store your tools and equipment, or install a pegboard to hang your bikes and accessories. By taking the time to customize your space, you’ll be able to find what you need in a flash and make the most of your garage.
For those living in small apartment storage hacks mode, every inch counts. That’s why it’s essential to make the most of your underutilized areas, such as under your bed. Consider using underbed storage solutions like drawers or bins to stash out-of-season clothes, linens, or luggage. This simple trick will help you reclaim your closet and keep your floors clear, making your space feel larger and more relaxed.
Garage Organization Hacks
Now that we’ve explored some genius space-saving furniture ideas, let’s tackle the often-overlooked garage. I mean, who hasn’t struggled to find a spot for their bike or toolbox amidst the clutter? Garage organization hacks are a must for any DIY enthusiast. Consider installing shelving units or cabinets to keep your gear off the floor and out of the way. You can also use hooks to hang bikes, tools, or accessories, keeping them easily accessible and freeing up valuable floor space.
By implementing these simple garage organization hacks, you’ll be amazed at how much more efficiently you can use the space. Plus, it’s a great feeling to have everything in its place, making it easier to find what you need when you need it.
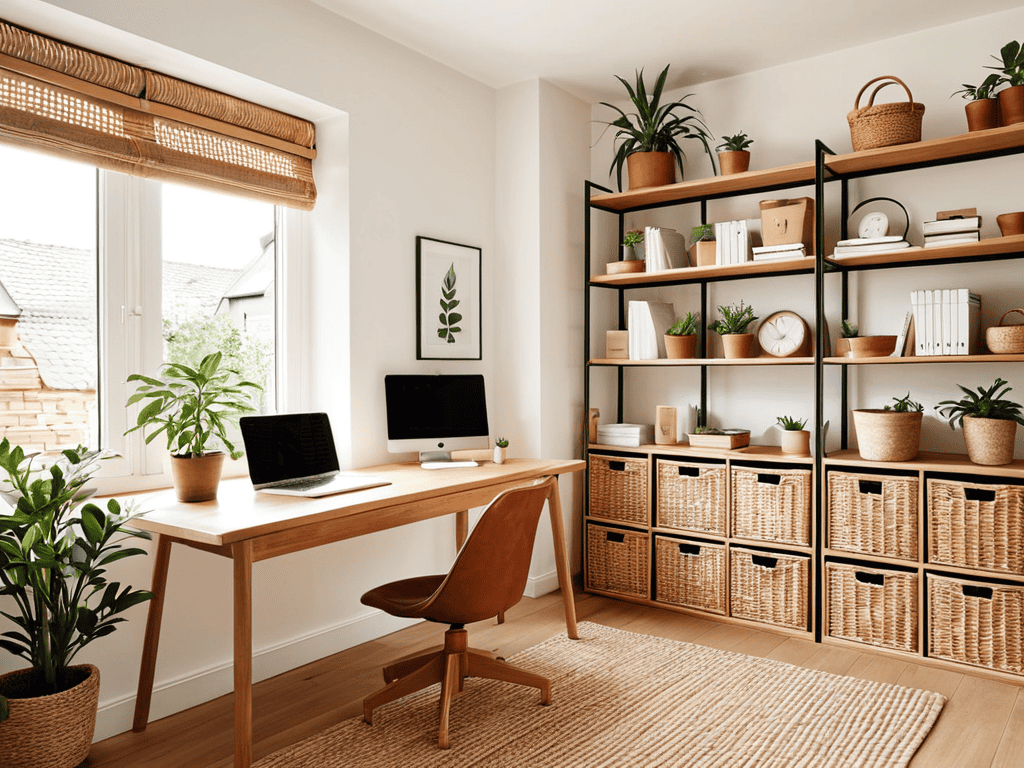
Space Saving Furniture Ideas
When it comes to maximizing space, the right furniture can make all the difference. Consider repurposing old dressers or desks as storage units, or look for multi-functional pieces like ottomans with built-in storage. You can also get creative with vertical space by using wall-mounted shelves or storage units.
By incorporating space-saving furniture into your DIY storage solutions, you can keep your belongings organized and out of the way, creating a more peaceful and clutter-free living environment.
Hack Your Way to a Clutter-Free Life: 5 Essential DIY Storage Tips
- Start by purging your belongings and getting rid of items you no longer need or use
- Use vertical space to your advantage by installing shelves, hooks, or storage units that go up to the ceiling
- Choose multi-functional furniture pieces that serve more than one purpose, such as a storage ottoman or a desk with built-in shelves
- Label and categorize your stored items so you can easily find what you need when you need it
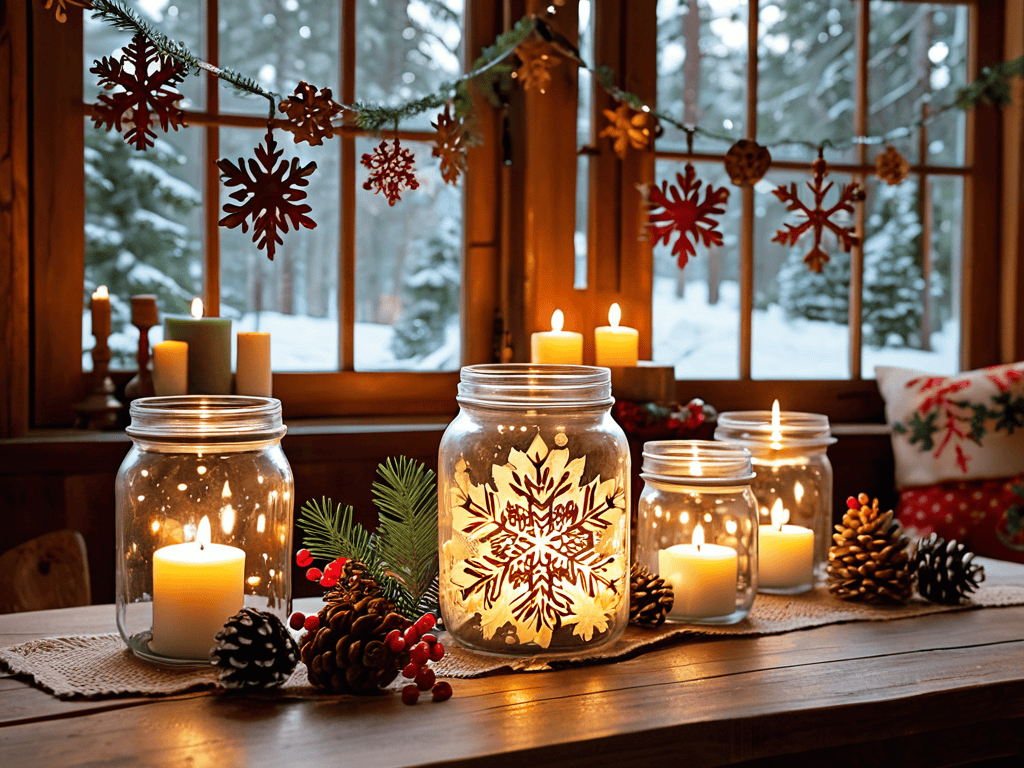
- Think outside the box and repurpose everyday items, like mason jars or old crates, to create unique and functional storage solutions
Key Takeaways to Boost Your Storage
By implementing creative DIY storage solutions, you can transform your cluttered spaces into organized havens that reflect your personal style
Space-saving furniture ideas and garage organization hacks can be combined to create a holistic approach to storage, making the most of every nook and cranny in your home
Unleashing your inner DIY enthusiast and getting hands-on with storage projects not only saves you money but also provides a sense of accomplishment and pride in your home’s newfound functionality
Embracing the Art of DIY
By unleashing your creativity with DIY storage solutions, you’re not just decluttering your space, you’re reclaiming your life—one shelf at a time.
Ava Morales
Wrapping Up Your DIY Storage Journey
As we’ve explored the world of DIY storage solutions, it’s clear that maximizing your space is all about creativity and resourcefulness. From clever furniture hacks to garage organization ideas, we’ve covered a range of practical tips to help you transform your home into a clutter-free haven. By implementing these simple yet effective solutions, you’ll not only free up physical space but also mental energy, allowing you to focus on what truly matters. Whether you’re a seasoned DIY enthusiast or a beginner looking to make a positive impact on your living environment, the key takeaway is that anyone can achieve a more organized and peaceful living space with a little bit of effort and imagination.
So, as you embark on your own DIY storage adventure, remember that it’s all about embracing a mindset of creativity and empowering yourself to take control of your space. Don’t be afraid to think outside the box, experiment with new ideas, and have fun with the process. With patience, persistence, and a willingness to learn, you’ll be well on your way to creating a home that is not only functional and beautiful but also a true reflection of your personality and style.
Frequently Asked Questions
What are some creative ways to repurpose old furniture for DIY storage solutions?
Get creative with old furniture! Turn an vintage dresser into a kitchen island, or transform a ladder into a bookshelf. You can also repurpose old pallets as shelves or use an antique door as a room divider with storage. Think outside the box and give new life to old pieces!
How can I maximize my garage storage without breaking the bank?
Dive into garage sales or thrift stores for affordable shelving and cabinets. Repurpose old pallets or crates to create storage units, and consider a slatwall for hanging tools and accessories. Get creative and think outside the box to maximize your garage storage without emptying your wallet!
What are the most essential tools I need to get started with building my own DIY storage units?
Honestly, you don’t need a ton of fancy tools to get started. The essentials are a drill, a saw, a tape measure, and a level. These will help you build and assemble your DIY storage units with ease.