I still remember the first time I laid eyes on a pair of polymer clay earrings – I was immediately captivated by their unique texture and vibrant colors. The common myth that making them is a daunting task that requires extensive experience is simply not true. In reality, creating your own polymer clay earrings can be a fun and rewarding experience, allowing you to express your personal style and add a touch of whimsy to any outfit.
In this article, I’ll share my honest and practical advice on how to get started with making your own polymer clay earrings. You’ll learn the basics of working with polymer clay, from conditioning and coloring to shaping and baking. I’ll also provide you with tips and tricks for avoiding common mistakes and achieving professional-looking results. By the end of this guide, you’ll be equipped with the knowledge and confidence to create your own unique polymer clay earrings that reflect your personality and style.
Table of Contents
Project Overview
Total Time: 1 hour 15 minutes
Estimated Cost: $10 – $30
Difficulty Level: Easy
Tools Required
- Rolling Pin ((for flattening clay))
- Shaping Tools ((e.g., toothpicks, skewers))
- Cutting Tool ((e.g., craft knife, scissors))
- Oven ((for baking clay))
- Wire Cutters ((for cutting earring findings))
- Pliers ((for shaping earring findings))
Supplies & Materials
- Polymer Clay ((various colors))
- Earring Findings ((e.g., jump rings, earring backs))
- Jewelry String or Wire ((optional))
- Acrylic Roll ((for rolling out clay))
- Baking Sheet ((lined with parchment paper))
- Sealant ((e.g., varnish, resin))
Step-by-Step Instructions
- 1. First, gather all the necessary materials, including polymer clay, a rolling pin, a pasta machine, and some shaping tools like toothpicks or skewers. Make sure you have a clean and stable workspace to avoid any mess or accidents.
- 2. Next, condition the polymer clay by kneading it with your hands until it becomes soft and pliable. This step is crucial as it helps to remove any air pockets and makes the clay easier to work with. You can also use a pasta machine to roll out the clay and achieve a uniform thickness.
- 3. Now, roll out the clay into a sheet using the pasta machine or a rolling pin. Start with a thicker setting and gradually decrease the thickness as you roll out the clay. This will help you achieve a consistent thickness and prevent the clay from tearing.
- 4. Use your shaping tools to create the desired shape for your earrings. You can make simple shapes like circles, squares, or triangles, or get more complex with intricate designs. Remember to keep your designs symmetrical if you’re making a pair of earrings.
- 5. Once you have your shapes, use a toothpick or a skewer to create a hole at the top of each earring. This is where you’ll attach the jump ring or earring hook later. Make sure the hole is big enough to accommodate the jump ring, but not so big that it compromises the structural integrity of the earring.
- 6. Place the shaped earrings on a baking sheet lined with parchment paper and bake them in a preheated oven at 275°F (135°C) for about 15-20 minutes, or according to the manufacturer’s instructions. Keep an eye on them to ensure they don’t overcook or burn.
- 7. After the earrings have cooled, use a jump ring and an earring hook to assemble the earrings. You can add a coat of varnish to protect the clay and give it a glossy finish. Finally, your handmade polymer clay earrings are ready to wear and enjoy!
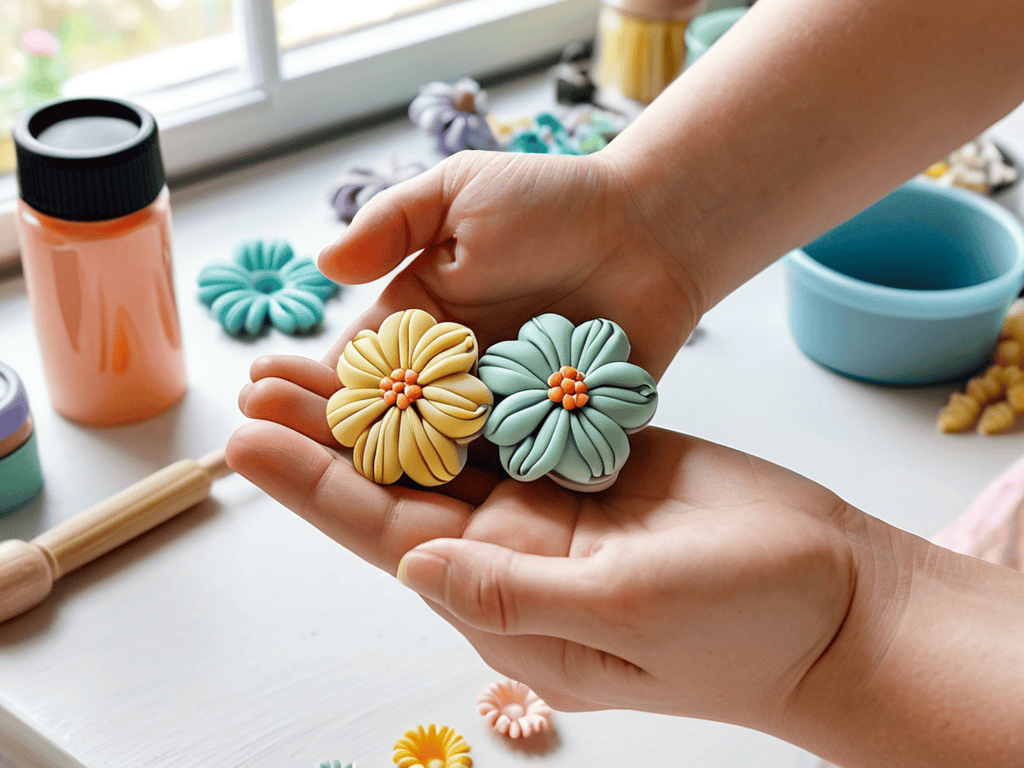
Crafting Polymer Clay Earrings
As I delve deeper into the world of handcrafted accessories, I’ve discovered that polymer clay conditioning techniques are essential for achieving the perfect consistency. This process involves kneading the clay to remove any air pockets and make it more pliable, allowing for smoother and more even textures. By taking the time to condition my clay, I can ensure that my creations turn out vibrant and full of life.
When it comes to earring design inspiration, I find myself drawn to nature’s intricate patterns and colors. The way light reflects off a leaf or the subtle hues of a sunset can be a great starting point for crafting unique and eye-catching pieces. To add an extra layer of depth, I often experiment with clay color mixing tips, blending different shades to create one-of-a-kind hues that set my designs apart.
For those looking to turn their passion into a handmade jewelry business, it’s crucial to consider the overall aesthetic and cohesiveness of their brand. By developing a distinct style and paying attention to details like polymer clay texture methods, artisans can establish a loyal customer base and stand out in a crowded market.
Earring Design Inspiration Tips
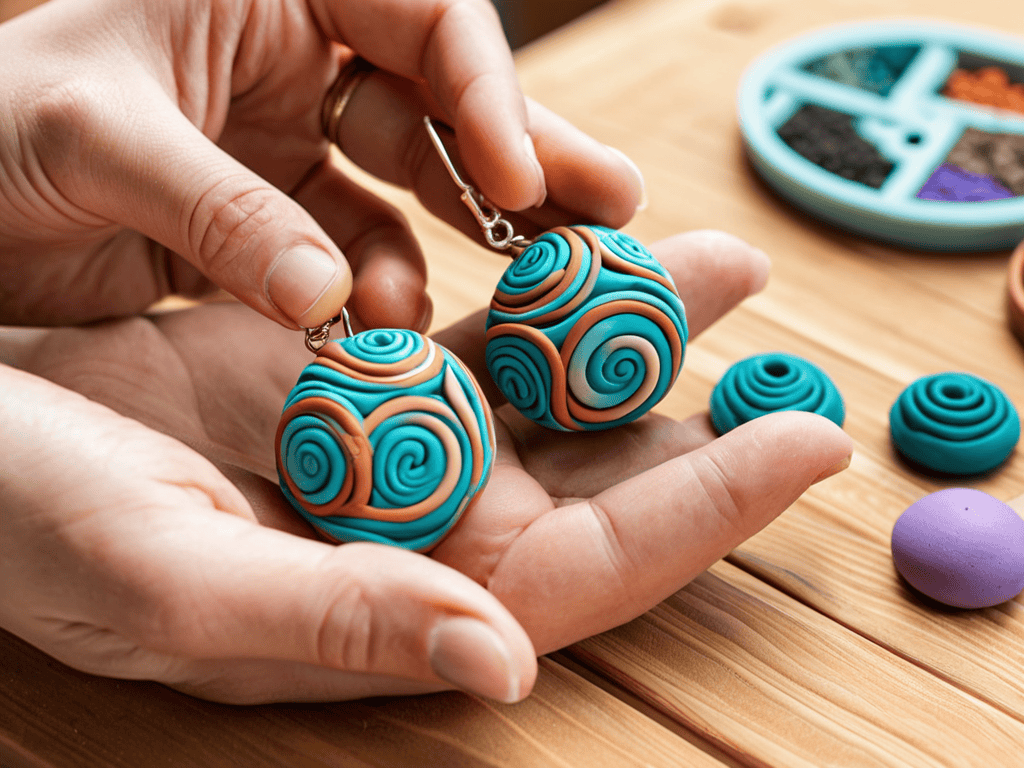
When it comes to designing your polymer clay earrings, the possibilities are endless. I love browsing through social media and craft blogs to get inspiration for new designs. Sometimes, a simple color combination or pattern can spark an idea for a whole new collection. I also enjoy experimenting with different shapes and textures, like mixing matte and glossy finishes or adding subtle details with stamps or molds.
As I continue to experiment with new earring designs, I’ve found that exploring different online communities and forums can be a great way to stay inspired and learn from others. For instance, I’ve stumbled upon some amazing polymer clay tutorials on various websites, which have helped me refine my techniques and try out new ideas. If you’re looking for a platform to connect with like-minded crafters or simply want to discover new hobbies, you might want to check out sex personals, which can be a surprising source of creative inspiration and a great way to meet people who share your passions.
To get those creative juices flowing, try gathering a mood board of your favorite designs, colors, and themes. You can also draw inspiration from nature, art, or even your favorite clothing and accessories. Remember, the beauty of handmade earrings lies in their uniqueness, so don’t be afraid to try new things and make mistakes – they can often lead to unexpected and exciting results.
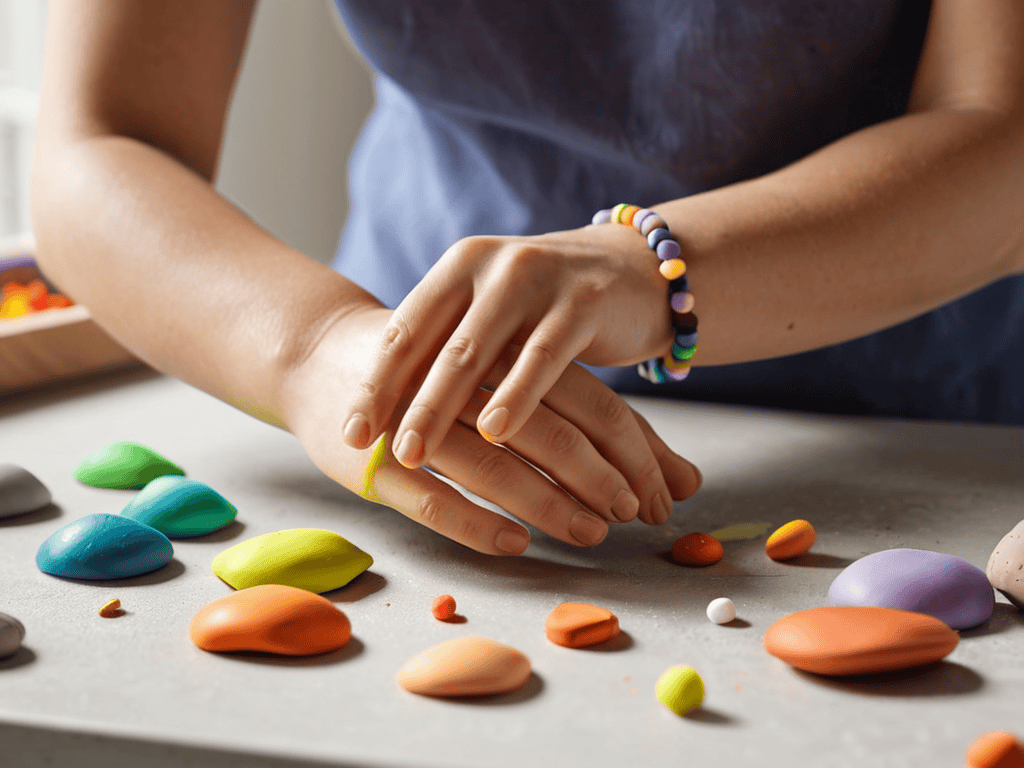
Polymer Clay Conditioning Techniques
To get the best out of your polymer clay, conditioning is key. I like to think of it as giving the clay a little wake-up call. You see, polymer clay can be a bit stubborn at times, and if it’s not properly conditioned, it can be prone to cracking or breaking. To avoid this, I always make sure to knead the clay until it’s smooth and pliable. This helps to remove any air pockets and ensures that the clay is evenly textured.
By taking the time to condition your polymer clay, you’ll be able to achieve a more consistent finish and prevent any unwanted imperfections. It’s a simple step, but one that can make all the difference in the quality of your handmade earrings.
Elevate Your Style: 5 Essential Tips for Working with Polymer Clay Earrings
- Experiment with Unique Color Combinations: Don’t be afraid to mix and match different hues to create one-of-a-kind earrings that reflect your personality
- Pay Attention to Texture: Incorporating various textures, such as glitter, metallic powders, or even fabric, can add an extra layer of visual interest to your earrings
- Keep it Simple with Understated Designs: Sometimes, less is more – opt for clean lines, minimal patterns, and classic shapes to create elegant, versatile earrings
- Don’t Forget About the Finishing Touches: Seal your earrings with a high-quality varnish, and consider adding a clear coat to protect them from fading or damage
- Practice Makes Perfect: Don’t be discouraged if your first attempts at crafting polymer clay earrings don’t turn out as expected – keep trying, and you’ll soon develop the skills and techniques needed to create stunning, professional-looking pieces
Key Takeaways for Crafting Unique Polymer Clay Earrings
I’ve learned that with the right conditioning techniques, polymer clay can be molded into intricate designs and patterns, making each earring a one-of-a-kind piece
Experimenting with different earring designs and inspirations can lead to the creation of truly personalized and stylish accessories that reflect my personality
By following a few simple steps and tips, anyone can create their own handmade polymer clay earrings, whether they’re a seasoned crafter or a beginner looking for a new creative outlet
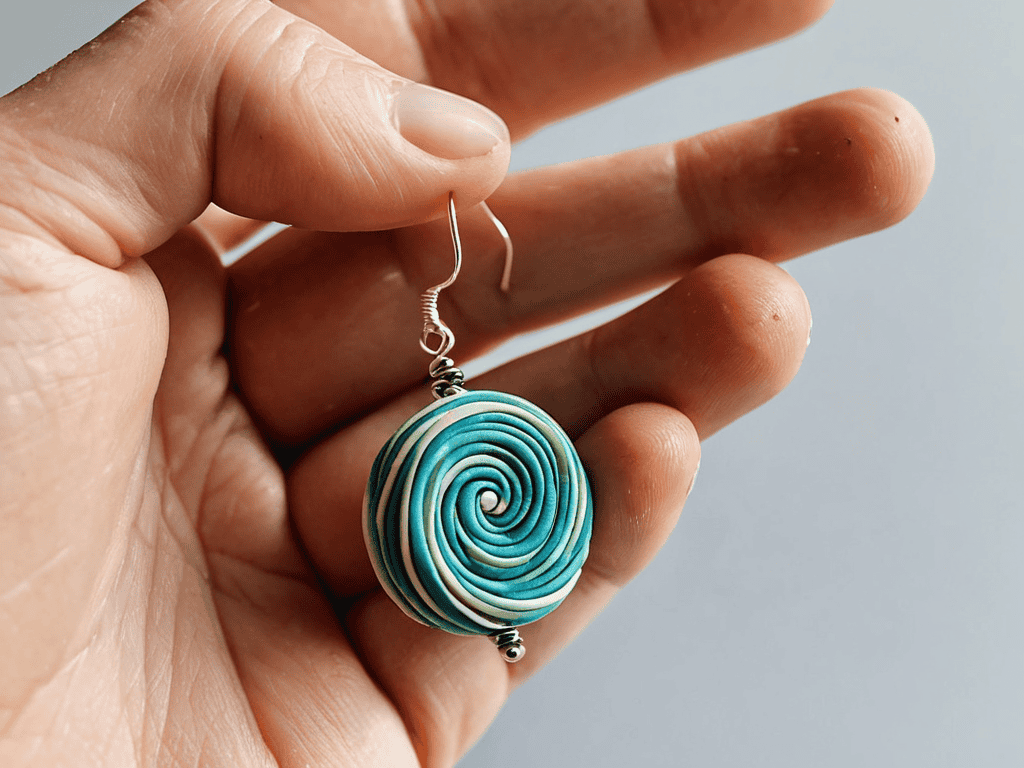
The Creative Spark
Polymer clay earrings are more than just a fashion statement – they’re a tangible expression of imagination, a whispered promise that even the smallest details can hold the greatest beauty.
Lily Green
Conclusion
As we conclude our journey through the world of polymer clay earrings, it’s essential to remember the key points that make this craft so unique. From conditioning techniques that bring out the best in your clay, to the endless design inspiration that surrounds us, every step of the process is an opportunity to express your creativity. Whether you’re a seasoned artist or a beginner, the process of crafting polymer clay earrings is a rewarding experience that allows you to bring your ideas to life.
So, as you put down your tools and admire your latest creation, remember that the true beauty of polymer clay earrings lies not just in their aesthetic appeal, but in the story behind each piece. Every earring is a testament to your imagination, patience, and skill. As you continue to explore the world of polymer clay, don’t be afraid to push the boundaries of what’s possible, and always keep in mind that the most beautiful creations are often those that are made with love and passion.
Frequently Asked Questions
What are some common mistakes to avoid when working with polymer clay for earring making?
When working with polymer clay, I’ve learned to beware of overworking the clay, which can lead to a tough, brittle finish. Also, make sure to avoid underbaking or overbaking, as this can cause the clay to crack or become discolored. And, of course, don’t forget to seal your finished earrings to protect them from the elements!
How do I achieve a consistent color and texture in my polymer clay earrings?
To get consistent color and texture, I swear by using high-quality polymer clay and keeping my workspace super clean. I also make sure to condition my clay thoroughly and mix colors in small batches to avoid any weird variations. It’s all about being meticulous and patient – trust me, it pays off in the end!
Can I seal my polymer clay earrings with a varnish or resin for extra protection?
I totally get why you’d want to add an extra layer of protection to your polymer clay earrings. Yes, you can definitely seal them with a varnish or resin – it’s a great way to make them more durable and long-lasting. Just make sure to choose a sealant that’s specifically designed for polymer clay to avoid any damage or discoloration.