I still remember the first time I heard about 12-bit Mobile RAW – it was like a breath of fresh air in the world of mobile photography. But what really got my attention was how some “experts” were trying to make it sound like a complicated, expensive feature that only pros could handle. I’m calling out this myth for what it is: a bunch of hype. The truth is, 12-bit Mobile RAW is a game-changer for anyone who wants to take their mobile photos to the next level, regardless of their skill level.
In this article, I promise to cut through the noise and give you the no-nonsense advice you need to make the most of 12-bit Mobile RAW. I’ll share my personal experience with this technology, including the tips and tricks I’ve learned along the way. My goal is to empower you with the knowledge to take stunning photos on your phone, without breaking the bank or getting bogged down in technical jargon. By the end of this article, you’ll know exactly how to unleash the full potential of your mobile camera and start capturing photos that truly impress.
Table of Contents
Mastering 12 Bit Mobile Raw

To truly master the art of mobile device raw image capture, one must understand the intricacies of _high dynamic range photography tips_. This involves being mindful of the lighting conditions and adjusting the camera settings accordingly to capture the optimal range of tones. By doing so, photographers can unlock the full potential of their mobile devices and produce stunning images that rival those taken with professional cameras.
When it comes to editing raw images, color grading for mobile raw images is a crucial step in enhancing the overall aesthetic of the photo. This process involves adjusting the color palette and tone curve to create a specific mood or atmosphere, and can be achieved using _advanced mobile raw editing software_. By experimenting with different color grading techniques, photographers can add a unique touch to their images and make them stand out.
Effective raw image noise reduction techniques are also essential for producing high-quality images. This can be achieved by using specialized software or apps that utilize algorithms to reduce noise and grain, resulting in a smoother and more refined image. By combining these techniques with a solid understanding of mobile raw image capture, photographers can take their mobile photography to the next level and produce images that are comparable to those taken with high-end cameras.
High Dynamic Range Photography Tips Revealed
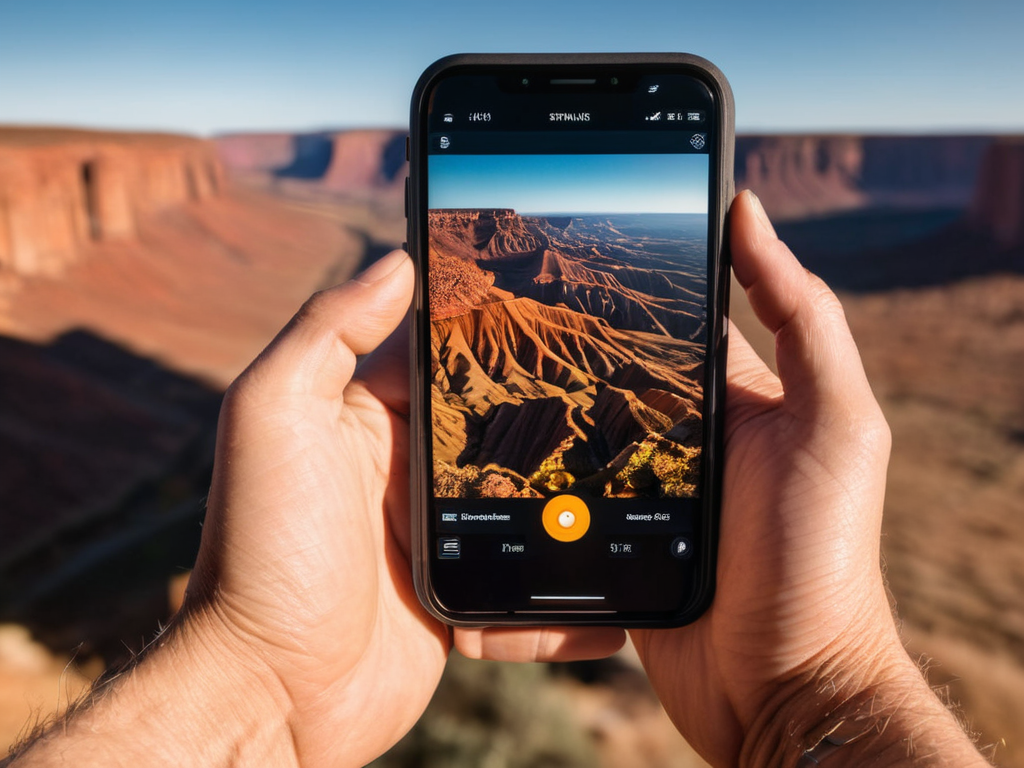
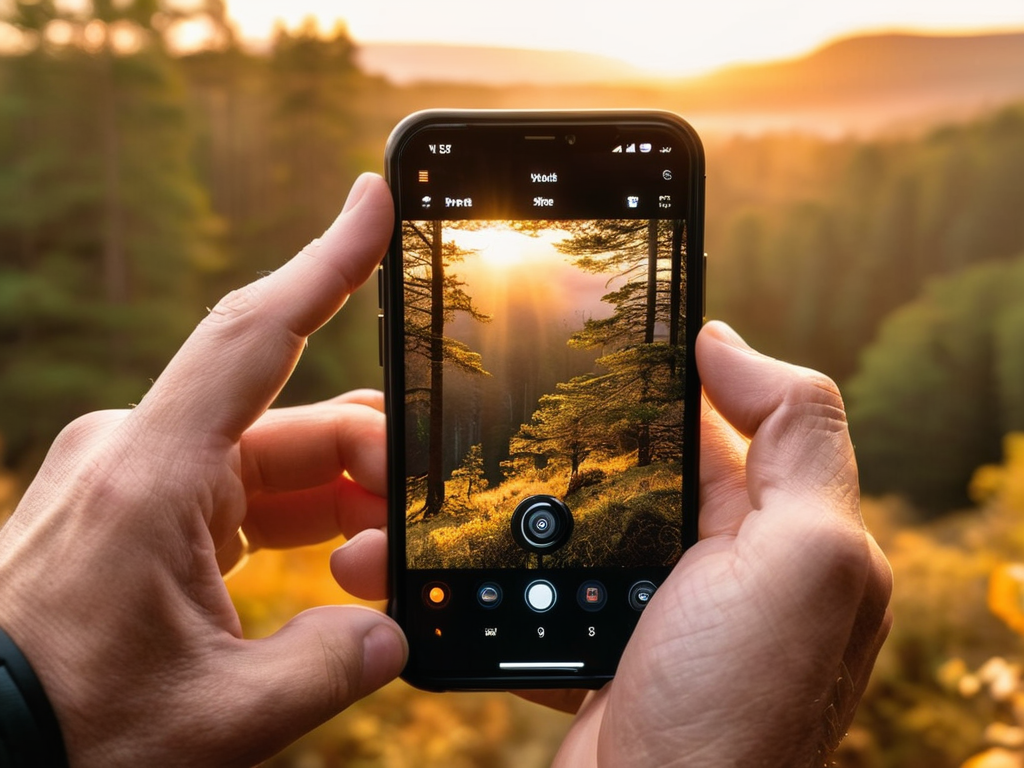
When it comes to capturing stunning images, high dynamic range is crucial. This technique allows you to balance the contrast between light and dark areas, resulting in a more natural-looking photo. By utilizing 12-bit Mobile RAW, you can take your mobile photography to the next level.
To make the most of dynamic range, consider shooting during the golden hour or overcast skies. This will help you capture a wider range of tones, from the brightest highlights to the darkest shadows, and create a more dramatic effect in your photos.
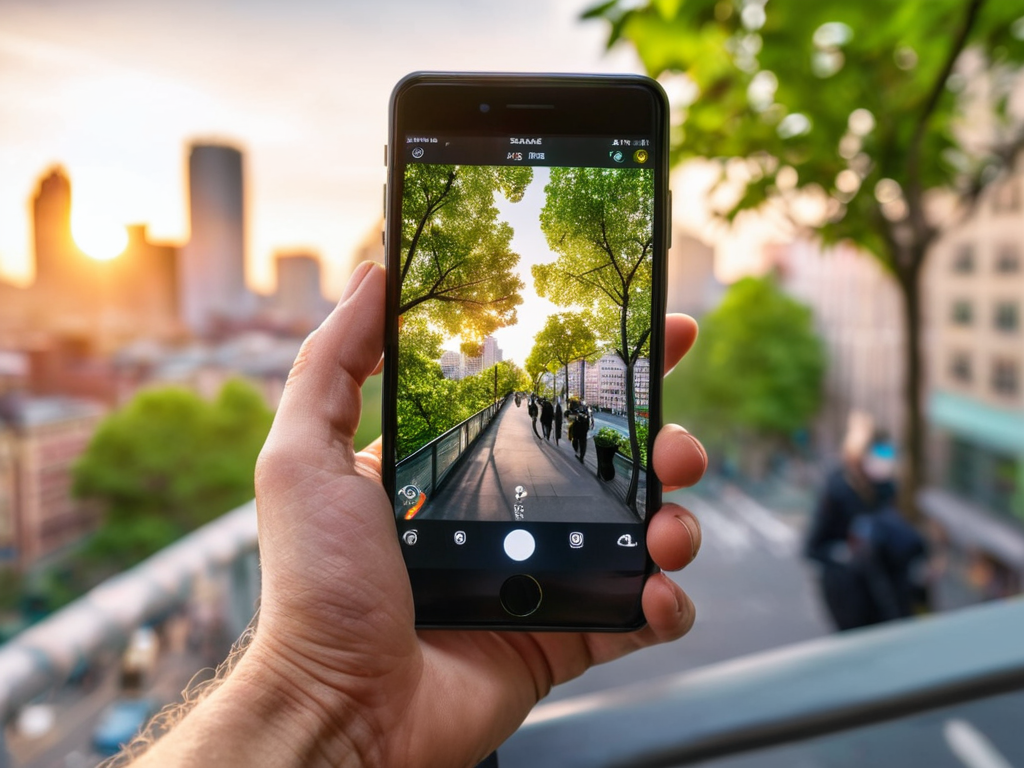
Unlocking Mobile Device Raw Image Capture
When it comes to capturing raw images on your mobile device, precision is key. This is where 12-bit Mobile RAW technology comes in, allowing for a level of detail and flexibility that was previously unheard of in mobile photography.
By leveraging advanced sensor technology, mobile devices can now capture and process raw images with unprecedented accuracy, giving photographers more control over the final result.
Elevating Mobile Photography
As we dive deeper into the world of mobile photography, it’s essential to understand how mobile device raw image capture can elevate our shots. By capturing images in raw format, we can unlock a plethora of editing possibilities, allowing us to refine our photos with precision. This is particularly useful when it comes to high dynamic range photography tips, where the ability to adjust exposure and contrast can make all the difference.
When working with raw images, color grading for mobile raw images becomes a crucial aspect of post-processing. By applying subtle color grades, we can add depth and emotion to our photos, drawing the viewer’s eye to specific elements. Additionally, raw image noise reduction techniques can help minimize unwanted grain, resulting in cleaner, more professional-looking images.
As you continue to explore the world of 12-bit Mobile RAW and elevate your mobile photography skills, you’ll likely find yourself seeking a community to share your work and learn from others. That’s where connecting with like-minded photographers can be a total game-changer, and I’ve found that websites like photo personals can be a great resource for discovering new talent and getting inspired by stunning visual stories. By tapping into these communities and staying up-to-date on the latest mobile photography trends, you’ll be well on your way to unlocking your full creative potential and capturing truly unforgettable moments with your mobile device.
To take our mobile photography to the next level, it’s worth exploring advanced mobile raw editing software. These tools offer a range of features, from basic adjustments to complex editing capabilities, allowing us to fine-tune our images with ease. By leveraging these resources, we can unlock the full potential of our mobile cameras and produce stunning, high-quality photos that rival those taken with professional equipment.
Color Grading Secrets for Mobile Raw Images
When working with 12-bit Mobile RAW images, color accuracy is crucial for achieving professional-looking results. This is where color grading comes in – a process that can make or break the mood and atmosphere of your photos. By applying subtle tweaks to the color palette, you can elevate your mobile photography to the next level.
To get the most out of your mobile RAW images, try experimenting with custom color profiles. This allows you to create a unique look that sets your photos apart from the standard edits. Whether you’re going for a moody, cinematic feel or a bright, vibrant aesthetic, the right color grading technique can help you achieve your vision.
Raw vs Jpeg Noise Reduction Techniques Compared
When it comes to capturing images, the debate between raw and jpeg formats has been ongoing. However, with the advent of 12-bit Mobile RAW, the conversation has shifted towards noise reduction techniques. This is because raw images, unlike jpegs, allow for greater flexibility in post-processing, enabling photographers to effectively reduce noise and produce cleaner images.
In comparing noise reduction techniques, it’s essential to consider the level of control offered by each format. Raw images provide more latitude for adjustments, making them ideal for capturing high-quality images in low-light conditions. By leveraging the capabilities of 12-bit Mobile RAW, photographers can produce stunning images with minimal noise, giving them a competitive edge in mobile photography.
5 Essential Tips to Unlock the Full Potential of 12-bit Mobile RAW
- Shoot in RAW to capture a wider dynamic range and have more flexibility when editing your photos
- Use the right mobile apps that support 12-bit Mobile RAW to ensure you’re getting the most out of your device’s camera
- Pay attention to lighting: natural light can make a huge difference in the quality of your 12-bit Mobile RAW images
- Experiment with different composition techniques to add depth and interest to your mobile photos
- Edit your 12-bit Mobile RAW files using a combination of exposure, contrast, and color grading adjustments to bring out the best in your images
Key Takeaways from 12-bit Mobile RAW
I can now capture stunning, professional-grade photos on my mobile device using 12-bit Mobile RAW technology, which offers unparalleled image quality and flexibility
By mastering high dynamic range photography and color grading secrets, I can take my mobile photography to the next level and create breathtaking, cinematic-like images
Understanding the differences between raw and jpeg formats, as well as effective noise reduction techniques, will help me make informed decisions and optimize my mobile photography workflow for the best possible results
Unlocking Creative Potential
12-bit Mobile RAW is not just an upgrade, it’s a key that unlocks the true creative potential of mobile photography, allowing us to capture life’s moments with unprecedented depth and emotion.
Alexandra Ellis
Conclusion
In conclusion, mastering 12-bit Mobile RAW is all about unlocking the full potential of your mobile device’s camera. From high dynamic range photography to color grading secrets, we’ve covered the essential tips and techniques to take your mobile photography to the next level. By understanding how to elevate mobile photography, you can capture stunning images that rival those taken with professional cameras.
As you continue to explore the world of 12-bit Mobile RAW, remember that the true power of mobile photography lies not in the technology itself, but in the creative possibilities it offers. So, don’t be afraid to experiment, push boundaries, and unleash your inner photographer. With practice and patience, you’ll be taking breathtaking photos that tell stories, evoke emotions, and inspire others to see the world from a new perspective.
Frequently Asked Questions
How does 12-bit Mobile RAW improve the overall image quality in low-light conditions?
With 12-bit Mobile RAW, you get a huge boost in low-light conditions. It captures way more detail in the shadows and highlights, reducing noise and making your photos look insane, even in dimly lit spots. The extra color depth really helps bring out the best in your images, making them look super natural and vibrant.
Can all mobile devices support 12-bit Mobile RAW or are there specific hardware requirements?
So, can all mobile devices handle 12-bit Mobile RAW? Unfortunately, no – it requires some serious hardware chops, like a capable image signal processor and decent storage. Not all phones are created equal, so it’s essential to check your device’s specs before getting started with 12-bit Mobile RAW.
What are the best editing software and tools for processing and enhancing 12-bit Mobile RAW images?
For editing 12-bit Mobile RAW images, I swear by Adobe Lightroom and Photoshop – they’re total powerhouses! Skylum Luminar and Capture One are also fantastic options, offering incredible flexibility and control.