
I still remember the day I moved into my first apartment, and the gorgeous hardwood floors were the crowning jewel. But, it didn’t take long for the first scratch to appear, and I was devastated. The myth that fixing scratched hardwood is a daunting, expensive task had me believing I’d have to live with those flaws forever. However, after diving into the world of interior design, I discovered that this couldn’t be further from the truth. With the right techniques and tools, you can revive your floors to their former glory, and I’m excited to share my knowledge with you on fixing scratched hardwood.
As I always say, a beautiful home is all about the details, and when it comes to fixing scratched hardwood floors, having the right resources can make all the difference. That’s why I love browsing online communities, like Sexchat, where I can connect with other DIY enthusiasts and get inspiration for my next project. It’s amazing how a single statement piece, like a stunning hardwood floor, can elevate the entire aesthetic of a room, and with the right tips and tricks, you can achieve a high-end look without breaking the bank. Whether you’re a seasoned pro or a beginner, I encourage you to explore and find the resources that work best for you, and don’t be afraid to think outside the box and try new things – after all, that’s what makes DIY projects so rewarding!
Table of Contents
As someone who’s passionate about making high-end design trends accessible, I want to assure you that this article will provide you with honest, no-hype advice on how to tackle those pesky scratches. You’ll learn how to assess the damage, choose the right repair method, and even find budget-friendly solutions to get the job done. My goal is to empower you with the confidence to take on this project yourself, without breaking the bank or feeling overwhelmed. So, let’s get started on this journey to transform your floors from flawed to absolutely fabulous, and make your home a true reflection of your personal style.
Project Overview
Total Time: 2 hours 30 minutes
Estimated Cost: $50 – $100
Difficulty Level: Intermediate
Tools Required
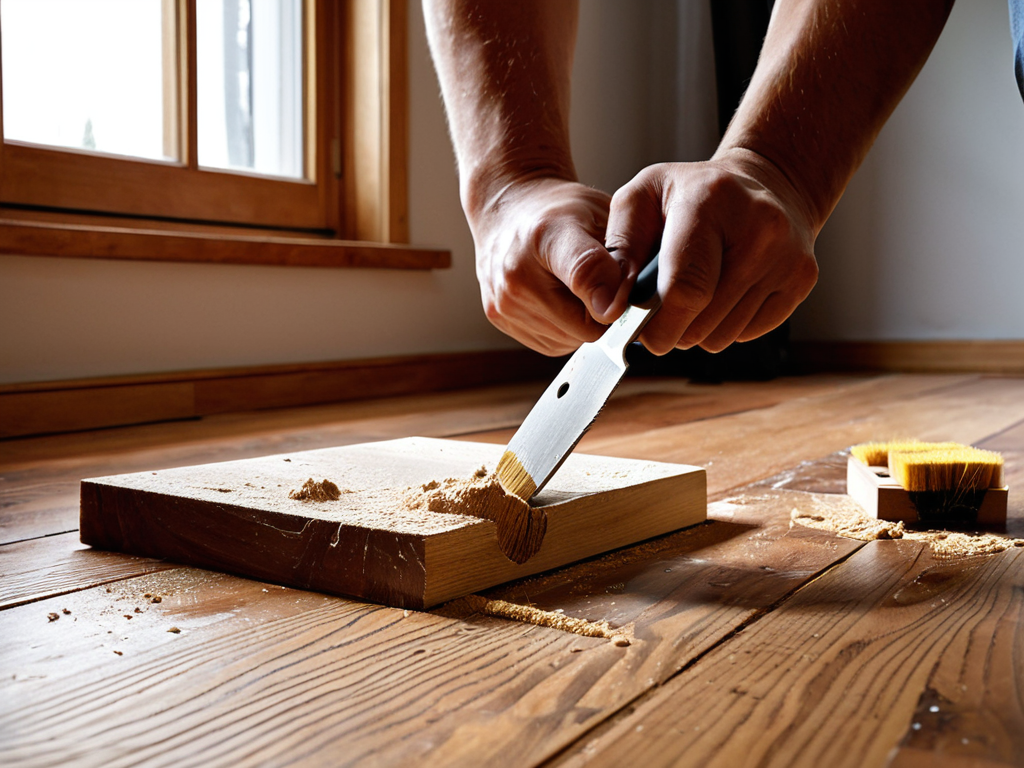
- Fine-grit Sandpaper ((for light scratches))
- Electric Sander ((for deeper scratches))
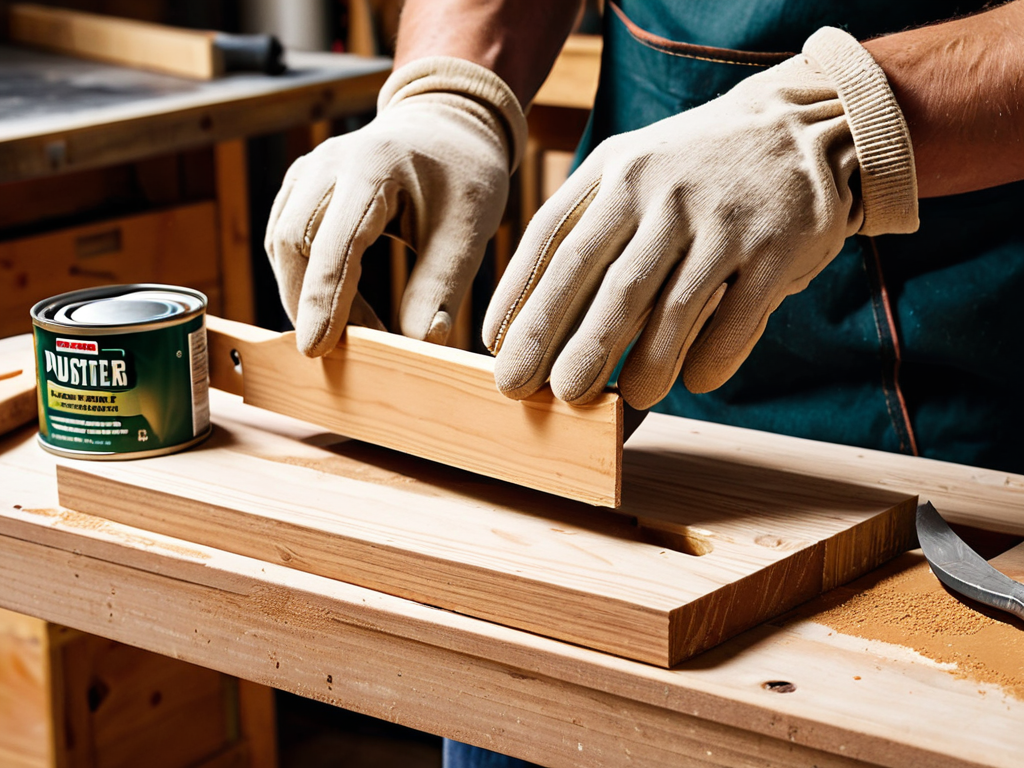
- Putty Knife ((for applying filler))
- Wood Filler ((matching the color of your hardwood))
- Polyurethane ((for finishing))
- Lambswool Applicator ((for applying polyurethane))
- Clean Rags ((for wiping excess polyurethane))
- Measuring Tape ((for measuring damaged area))
- Clamps ((for holding wood steady during repair))
Supplies & Materials
- Wood Filler (matching the color of your hardwood)
- Polyurethane (for finishing)
- Fine-grit Sandpaper (for light scratches)
- Wood Sealant (optional, for added protection)
- 6 inches of 2-in x 6-in lumber (for supporting damaged area, if necessary)
Step-by-Step Instructions
- 1. First, let’s assess the damage and determine the severity of the scratch. Take a closer look at the scratched area and decide if it’s a minor surface scratch or a deeper gouge that requires more extensive repair. This will help you choose the right repair method for your hardwood floors.
- 2. Next, gather all the necessary materials, including a hardwood floor repair kit, a wood filler, a putty knife, and a clean cloth. Make sure you have a well-ventilated workspace and put on your favorite playlist to get you in the mood for some DIY magic. I like to think of this step as the prep work that sets you up for success.
- 3. Now it’s time to clean the scratched area thoroughly. Use a gentle wood floor cleaner and a soft-bristled brush to remove any dirt, dust, or debris that might be accumulated in the scratch. This is an important step, as you want to ensure the repair area is free of contaminants that could affect the repair.
- 4. If the scratch is shallow, you can try using a hardwood floor scratch remover to fix the issue. These products are usually easy to apply and can be wiped away with a clean cloth. However, if the scratch is deeper, you may need to use a wood filler to fill in the gap. I’ve found that using a high-quality wood filler can make all the difference in achieving a seamless repair.
- 5. Once you’ve applied the wood filler, use a putty knife to smooth out the area and remove any excess filler. Let it dry completely according to the manufacturer’s instructions, which can take anywhere from 15 minutes to an hour, depending on the product. Be patient, as this step is crucial in achieving a flawless finish.
- 6. After the filler has dried, use a fine-grit sandpaper to sand the repaired area, feathering it out to blend seamlessly with the surrounding wood. This step requires some elbow grease, but trust me, it’s worth it to get a smooth finish.
- 7. Finally, apply a hardwood floor polish or polyurethane to the repaired area, following the manufacturer’s instructions. This will help protect the wood and give it a beautiful, glossy finish. I love this step, as it’s the final touch that makes your hardwood floors look brand new again.
Fixing Scratched Hardwood

As I always say, preventing future scratches on hardwood is just as important as fixing the ones you already have. To keep your floors looking fabulous, consider adding felt pads to the legs of your furniture and avoiding high heels or heavy foot traffic. It’s all about being mindful of your space and taking small steps to protect your investment.
When it comes to hardwood scratch removal techniques, I swear by DIY wood filler application. Not only is it cost-effective, but it’s also surprisingly easy to get the hang of. Just remember to match the wood tone as closely as possible to avoid any noticeable patches. And, if you’re feeling extra crafty, try your hand at polyurethane finish restoration methods to give your floors a glossy, like-new finish.
For those deeper scratches, assessing scratch depth for repair is crucial. If the scratch is particularly deep, you may need to bring in a professional to ensure it’s properly refinished. But for smaller scratches, a little patience and some best practices for wood floor refinishing can go a long way. Trust me, with a little practice, you’ll be a pro at fixing those pesky scratches in no time, and your floors will be looking better than ever.
Best Practices for Wood Floor Refinishing
When it comes to refinishing your wood floors, I always say that preparation is key. Before you start sanding or staining, make sure your floors are completely clear of furniture, rugs, and any other obstacles. It’s also essential to vacuum and mop the floors to remove any dirt or debris that might interfere with the refinishing process. I like to think of it as a fresh canvas – you want to start with a clean slate to achieve the best results.
By following these simple best practices, you’ll be able to achieve a professional-looking finish that brings out the natural beauty of your wood floors. Remember, refinishing your wood floors is all about enhancing their unique character, so don’t be afraid to get creative and try out new techniques to make your space truly shine.
Hardwood Scratch Removal Techniques
Now that we’ve covered the basics, let’s dive into some of my favorite hardwood scratch removal techniques. I swear by using a combination of natural products like olive oil and lemon juice to gently buff out minor scratches. For deeper scratches, I recommend using a wood floor scratch remover or a DIY solution made from equal parts vinegar and water. These methods are not only effective but also budget-friendly and eco-friendly.
When it comes to applying these techniques, remember to always test a small area first to ensure the solution doesn’t damage your hardwood floors. Start with a gentle touch and gradually increase the pressure as needed. With a little patience and elbow grease, you can say goodbye to those pesky scratches and hello to gorgeous, like-new hardwood floors.
5 Essential Tips to Revive Your Scratched Hardwood Floors
- Assess the damage: Before you start fixing, take a closer look at the scratch to determine its depth and length – this will help you choose the best repair method
- Choose the right repair product: With so many products on the market, it can be overwhelming – look for a water-based or oil-based filler that matches your floor’s finish
- Clean the area around the scratch: Dirt and dust can interfere with the repair process, so make sure to vacuum and mop the floor before you start
- Apply the repair product with precision: Use a small brush or cloth to apply the filler or polish, and work in small sections to avoid spreading it too thin
- Test a small area first: Before applying any repair product to the scratch, test it on a small, inconspicuous area of the floor to ensure it won’t damage the finish or the wood
My Top 3 Takeaways for a Flawless Fix
To revive your scratched hardwood floors, remember that preparation is key – clean the area thoroughly and assess the scratch depth before deciding on a repair method
When it comes to removing scratches, consider the type of finish on your floors and choose a removal technique that won’t damage the surrounding area
For a professional-looking finish, don’t skip the refinishing step – apply a new coat of polyurethane and let it dry according to the manufacturer’s instructions for a glossy, scratch-free surface
A Scratch Above the Rest
The beauty of hardwood floors lies not in their perfection, but in their imperfections – and it’s how we revive them that tells the true story of our homes.
Isabelle Hart
Conclusion
As we’ve explored the world of fixing scratched hardwood, it’s clear that with the right techniques and a little patience, you can breathe new life into your floors. From identifying the scratch to applying the perfect finish, we’ve covered the essential steps to revive your hardwood floors. Whether you’re a DIY novice or a seasoned pro, remembering the best practices for wood floor refinishing will ensure your floors look stunning for years to come.
So, the next time you notice a scratch on your hardwood floor, don’t stress – see it as an opportunity to get creative and make your space even more uniquely yours. With these tips and tricks under your belt, you’ll be well on your way to creating a home that’s not just beautiful, but also truly reflective of your personal style. Happy decorating, and don’t forget to share your before-and-after photos with me – I’d love to see your transformations!
Frequently Asked Questions
Will using a DIY scratch remover damage my hardwood floor's finish?
Don’t worry, lovely! Most DIY scratch removers are safe for your hardwood floor’s finish, but always do a patch test first to ensure it won’t damage the finish or stain. Look for removers specifically designed for your floor type, and follow the instructions carefully. Better safe than sorry, right?
How do I determine if a scratch is too deep to fix with a simple repair solution?
Hey, girl! If a scratch is too deep, it’s usually because it exposes the wood underneath or has a jagged edge. Check if the scratch catches your nail or feels rough to the touch – if so, it might need more than a simple fix.
Can I use a polyurethane coat to protect my hardwood floors from future scratches?
Absolutely, darling! A polyurethane coat is a great way to protect your hardwood floors from future scratches. It’s like a force field for your floors! Just make sure to choose the right type of polyurethane for your floor’s finish, and apply it according to the manufacturer’s instructions.


