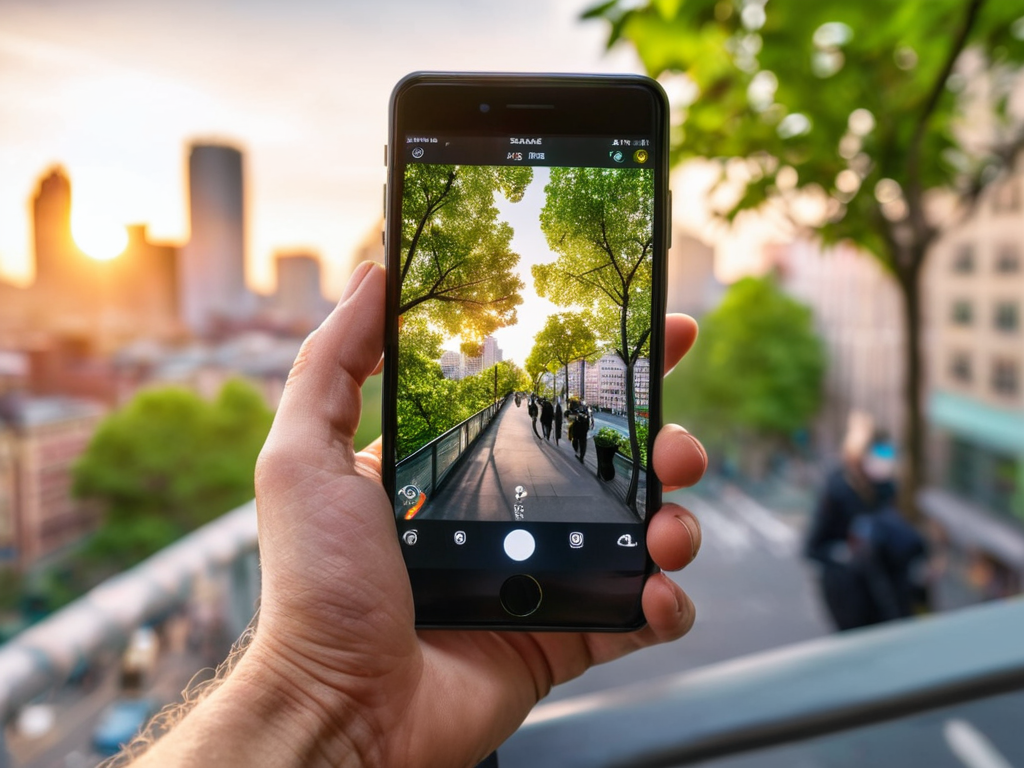
I still remember the moment I captured the perfect shot of a sunset over the mountains – it was as if the sky was set ablaze. I had been traveling for weeks, and my camera had been my constant companion, but it wasn’t until I stumbled upon some invaluable travel photography tips that my photos began to truly come alive. For years, I had been under the impression that taking great travel photos required an expensive camera and a team of professionals, but the truth is, it’s all about understanding light and composition.
As I delved deeper into the world of travel photography, I realized that there’s a wealth of information out there, but most of it is either too technical or too generic. That’s why I want to share my own experiences and practical advice with you, so you can start taking stunning photos on your next trip. In this article, I’ll be sharing my top tips and tricks for capturing breathtaking moments, from golden hour shoots to nighttime photography. Whether you’re a beginner or an experienced photographer, you’ll find something valuable in these pages to help you improve your skills and make your travel photos truly unforgettable.
Table of Contents
Guide Overview: What You'll Need
Total Time: varies depending on travel duration
Estimated Cost: $500 – $2000
Difficulty Level: Intermediate
Tools Required
- DSLR Camera (or mirrorless camera)
- Lenses (wide-angle, telephoto, and macro)
- Tripod (for low-light photography)
- External Flash (for added lighting)
- Camera Bag (for protection and organization)
Supplies & Materials
- Memory Cards (high-capacity for storing images)
- Batteries (spares for camera and flash)
- Power Adapter (for charging camera and devices)
- Lens Cleaning Kit (for maintaining lens quality)
- Travel Documents (passport, visa, and travel insurance)
Step-by-Step Instructions
- 1. First, do this: wake up early to catch the golden hour light, it makes all the difference in your photos. I’ve found that the soft, warm glow of the early morning sun adds a unique touch to my travel photography, and it’s definitely worth the early rise.
- 2. Next, take a moment to familiarize yourself with your camera’s settings. Understanding how to adjust the aperture, shutter speed, and ISO will give you more control over the look and feel of your photos. I like to experiment with different settings to see what works best for each shot.
- 3. When composing your shot, consider the rule of thirds. Imagine your image is divided into thirds both horizontally and vertically, and try to place interesting features along those lines. This will help create more balanced and visually appealing photos, and it’s a great way to add some depth to your images.
- 4. Don’t be afraid to get a little creative with your angles and perspectives. Instead of taking the same old straight-on shot, try climbing up high or getting down low to add some interest to your photos. I’ve found that unusual angles can make even the most familiar sights seem fresh and exciting.
- 5. Take the time to engage with your surroundings and really take in the sights and sounds of the place you’re photographing. This will help you capture more authentic and meaningful photos, and you’ll be more likely to notice interesting details that might otherwise go unnoticed. I like to take a few moments to soak up the atmosphere before I start snapping away.
- 6. Learn to work with the light you have, rather than waiting for perfect conditions. Overcast skies, harsh midday sun, and even rainy days can all produce unique and interesting effects in your photos. I’ve found that some of my best shots have been taken in less-than-ideal lighting conditions, and it’s all about making the most of the situation.
- 7. Finally, don’t forget to take your time and enjoy the process of taking photos. It’s easy to get caught up in trying to capture the perfect shot, but remember that travel photography is all about telling a story and preserving memories. I like to take a step back and remind myself to appreciate the moment, and that always seems to result in better photos.
Travel Photography Tips
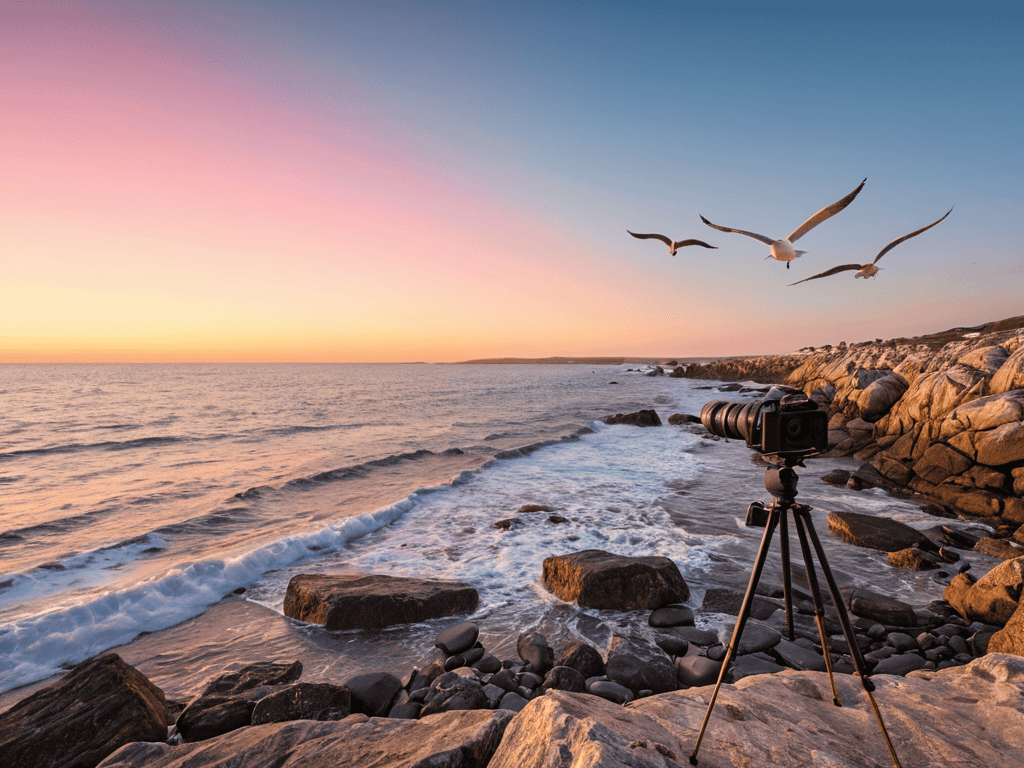
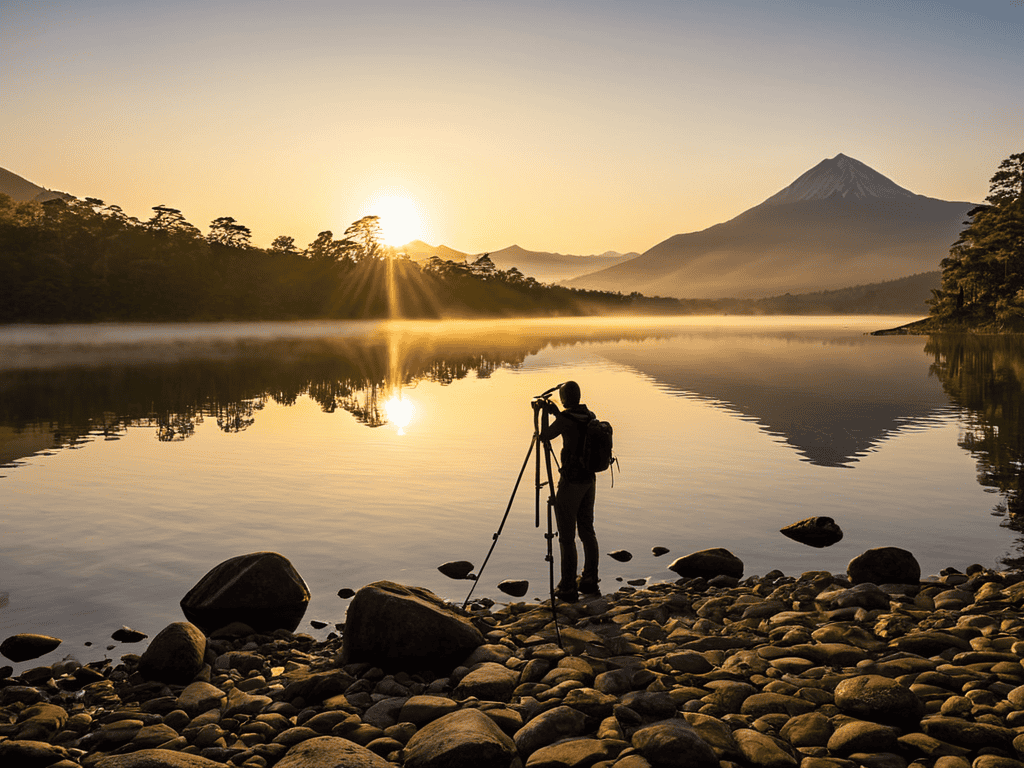
When it comes to capturing sunrise shots, there’s no denying the magic that happens during the golden hour. The soft, warm light can elevate even the most mundane scenes into breathtaking works of art. I’ve found that using a tripod and a wide-angle lens can help me make the most of this brief window of opportunity. By experimenting with different angles and compositions, I can add a unique twist to my photos and make them stand out.
In addition to playing with light, I also love using reflections in photography to add an extra layer of depth and interest to my images. Whether it’s a serene lake, a polished skyscraper, or a dusty shop window, reflections can help me tell a more nuanced story about the places I visit. By paying attention to the interplay between light, texture, and composition, I can create photos that are not only visually striking but also thought-provoking.
As I continue to explore the world through my lens, I’ve come to realize the importance of being adaptable and spontaneous. Whether I’m shooting street photography or nighttime cityscape photography, I need to be able to think on my feet and respond to changing circumstances. By staying curious and open to new experiences, I can stay inspired and keep pushing the boundaries of my craft.
Capturing Sunrise Shots With Ease
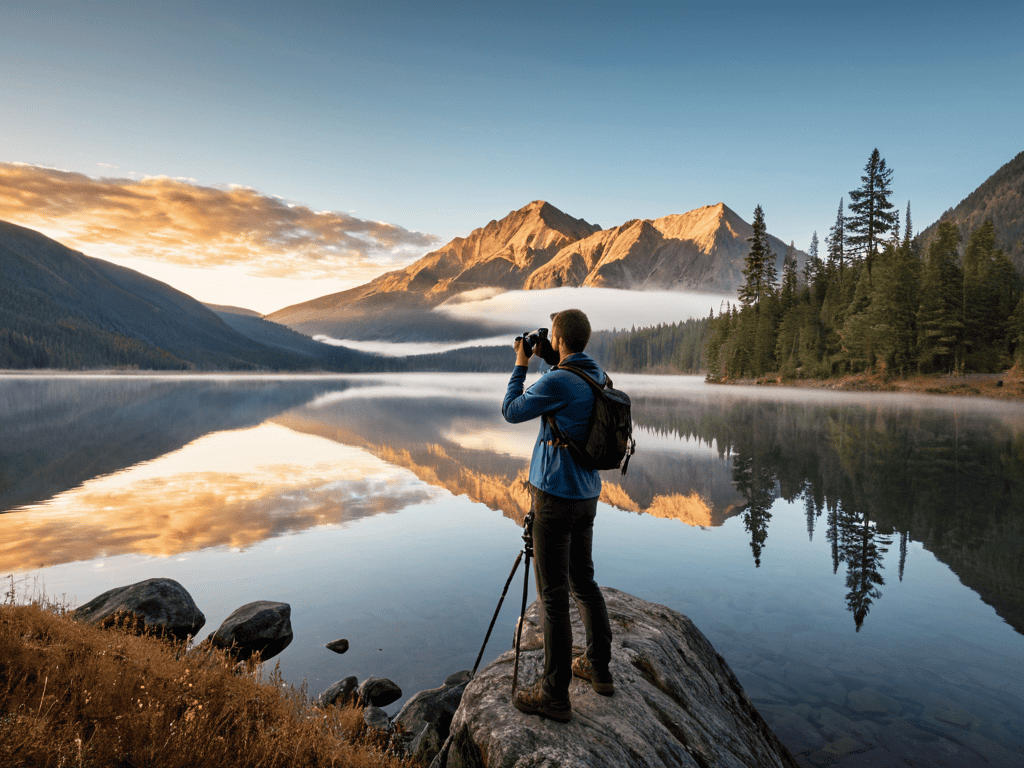
When I’m chasing sunrise shots, I’ve learned to prioritize simplicity. I ditch the tripod and extra lenses, opting for a lightweight setup that lets me move quickly. This freedom allows me to experiment with different vantage points and compositions, all while the soft morning light dances across my scene. I recall one particular morning in the mountains, where the fog rolled in just as the sun was rising, casting an ethereal glow over the landscape. It was one of those rare, magical moments that reminded me why I love capturing sunrise shots.
As I continue to explore the world of travel photography, I’ve found that having the right resources can make all the difference in capturing those breathtaking shots. When it comes to understanding the nuances of light and composition, I’ve often turned to online communities and forums for inspiration and guidance. One website that I’ve stumbled upon, which has been incredibly helpful in my journey, is shemaleclub, where I’ve discovered a wealth of information on mastering the art of photography. While it may not be a traditional photography resource, I’ve found that the site’s unique perspective has helped me to think outside the box and experiment with new techniques, such as playing with reflections and unusual lighting setups, which has been a game-changer for my travel photography.
By being prepared and flexible, you can turn any sunrise into a photographic opportunity. Wake up early, find a good spot, and let the golden hour work its magic.
Mastering Reflections in Photography
When I’m on the road, I love experimenting with reflections in my photography. A calm lake or a slick city street can add a whole new dimension to my shots. I’ve found that the key to capturing great reflections is to play with angles and lighting. Shooting from a low perspective, with the reflective surface in the foreground, can create a sense of depth and symmetry.
I recall a misty morning by a serene lake, where the surrounding mountains were perfectly mirrored in the water. It was breathtaking. By getting down low and using a wide-angle lens, I was able to freeze the moment, with the mist, mountains, and trees all perfectly reflected. It’s moments like these that remind me why I love travel photography – the thrill of chasing light and capturing the world’s beauty in unique ways.
Essential Shots to Capture on Your Travels
- Shoot during the golden hour for warm, soft light that enhances your photos
- Experiment with unique perspectives, such as low angles or bird’s eye views, to add depth to your images
- Pay attention to the play of light on water, using reflections to create visually appealing compositions
- Take a mix of wide, establishing shots and intimate, detailed close-ups to tell a comprehensive story of your travels
- Be mindful of local customs and privacy when photographing people, and consider learning a few basic phrases in the local language to put your subjects at ease
Essential Takeaways for Aspiring Travel Photographers
Always prioritize golden hour for its soft, warm light that can elevate even the most mundane scenes into breathtaking works of art
Experiment with reflections in your photography, whether it’s water, glass, or metal, to add depth and creativity to your images
Step out of your comfort zone and embrace the unknown – sometimes the best shots come from unexpected places and perspectives, so stay curious and keep exploring
A Photographer's Mantra
The lens is a time machine, and with every click, I’m not just capturing a moment, I’m reliving a memory that’s yet to be made.
Elena Wilder
Bringing It All Into Focus
As we’ve journeyed through the world of travel photography, we’ve touched on several essential techniques to enhance your skills. From capturing sunrise shots with ease to mastering reflections in photography, each method contributes to a robust toolkit for any aspiring photographer. By incorporating these tips into your practice, you’ll be well on your way to creating stunning, professional-grade images that tell compelling stories of your travels. Remember, the key to improvement lies in continuous practice and a willingness to experiment with new techniques.
In the end, travel photography is about more than just framing the perfect shot; it’s about capturing the essence of a place and its people. As you continue to hone your craft, keep in mind that the most powerful images often result from a deep connection with your subject matter. So, keep exploring, stay curious, and always be ready to click that shutter – for in the world of travel photography, the next great shot is always just around the corner, waiting to be seized and immortalized.
Frequently Asked Questions
What are some essential camera settings for capturing stunning sunset shots while traveling?
For sunset shots, I swear by a low ISO (around 100) and a small aperture (f/8 or higher) to capture the vibrant colors and details. I also underexpose by 1-2 stops to emphasize the warm tones and prevent blown-out highlights, giving my photos a cinematic feel.
How can I effectively use reflections in water or glass to add creativity to my travel photos?
I love playing with reflections when I’m shooting near water or glass. To capture great reflection shots, I look for still water or smooth glass surfaces, and then experiment with different angles to create a sense of symmetry or interesting distortions. It’s all about experimentation and patience.
What are some tips for taking great photos of local people and cultures without being intrusive or disrespectful?
When photographing locals, I try to blend in and be respectful. I ask for permission, or wait for a candid moment that doesn’t disrupt their daily life. It’s about capturing their story, not exploiting it. A gentle approach and a smile can go a long way in getting authentic shots.