I still remember the day I decided to give my kitchen a makeover, and it all started with a guide to painting your kitchen cabinets for a fresh look. I had heard the myth that painting kitchen cabinets is a daunting task that requires professional help, but I was determined to prove that wrong. As I dove into the project, I realized that with the right tools and a bit of patience, anyone can achieve a stunning, refreshed appearance. My kitchen transformation was nothing short of amazing, and it all began with a simple cabinet makeover.
In this article, I promise to share my honest and practical advice on how to paint your kitchen cabinets for a fresh new look. You won’t find any fluff or hype here, just straightforward, step-by-step guidance to help you achieve the kitchen of your dreams. Whether you’re looking to update your outdated cabinets or simply want to add a pop of color to your kitchen, this guide will walk you through every stage of the process, from preparation to completion. By the end of this article, you’ll be equipped with the knowledge and confidence to tackle your own cabinet painting project and enjoy a beautiful, refreshed kitchen space.
Table of Contents
- Guide Overview: What You'll Need
- Step-by-Step Instructions
- A Guide to Painting Your Kitchen Cabinets
- Bringing it all Together: 5 Essential Tips for a Successful Cabinet Makeover
- Key Takeaways for a Successful Cabinet Makeover
- Transforming Your Space
- Bringing It All Together
- Frequently Asked Questions
Guide Overview: What You'll Need
Total Time: 4 hours 30 minutes
Estimated Cost: $50 – $100
Difficulty Level: Intermediate
Tools Required
- Sandpaper various grits
- Paintbrushes assorted sizes
- Roller Extension Pole for large surfaces
- Drop Cloths for protecting floors
- Primer optional, but recommended
Supplies & Materials
- Paint choose your desired color and finish
- Cabinet Handles if replacing existing hardware
- Wood Filler for filling any holes or gaps
- 6 inches Sanding Blocks for smoothing out surfaces
- Masking Tape for creating sharp edges
Step-by-Step Instructions
- 1. First, prepare your workspace by clearing out the kitchen and covering the floors, countertops, and appliances with drop cloths or plastic sheets to protect them from paint spills and stains. Remove all hardware from the cabinets, such as knobs and handles, and set them aside for reinstallation later.
- 2. Next, assess the condition of your cabinets to determine if they need any repairs or sanding before painting. Check for any scratches, dents, or uneven surfaces and fill them in with a wood filler or sand them down to create a smooth surface for painting.
- 3. Then, clean the cabinets thoroughly with a degreaser to remove any grease, grime, or food residue that may interfere with the paint’s adhesion. Use a soft brush or cloth to wipe down the cabinets, paying special attention to any areas with visible stains or buildup.
- 4. After cleaning, apply a primer to the cabinets if necessary, especially if they have a glossy finish or are made of a material that’s prone to staining, such as oak or pine. Use a high-quality primer specifically designed for cabinets and follow the manufacturer’s instructions for application and drying times.
- 5. Once the primer is dry, start painting the cabinets with a high-quality paint specifically designed for cabinets and trim. Use a brush or roller to apply the paint, working in small sections to maintain even coverage and avoid drips or streaks. Apply two to three coats of paint, allowing each coat to dry completely before applying the next one.
- 6. While the paint is drying, remove the doors and drawers from the cabinets and set them aside to paint separately. This will allow you to paint the hinges and other hardware without getting paint on the surrounding surfaces. Use a small brush to paint the hinges and other small areas, taking care not to get paint on the screws or other moving parts.
- 7. Finally, reinstall the hardware and reattach the doors and drawers to the cabinets once the paint is completely dry. Make any necessary adjustments to the hinges or other hardware to ensure proper alignment and smooth operation. Stand back and admire your handiwork, enjoying the fresh new look of your newly painted kitchen cabinets.
A Guide to Painting Your Kitchen Cabinets
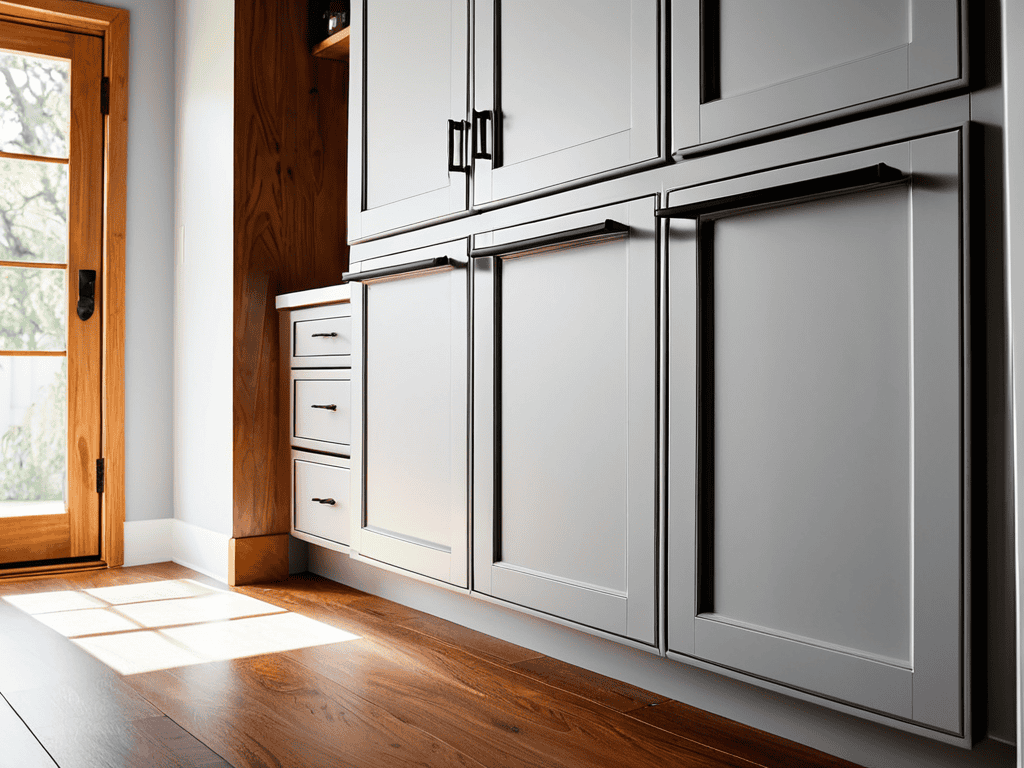
When it comes to a successful kitchen cabinet makeover, it’s all about the details. Choosing the right cabinet hardware can make or break the overall aesthetic of your kitchen. Consider the style and finish of your faucets, lighting, and appliances to ensure a cohesive look. For a modern feel, opt for sleek and simple hardware, while a more traditional kitchen might call for ornate or decorative pieces.
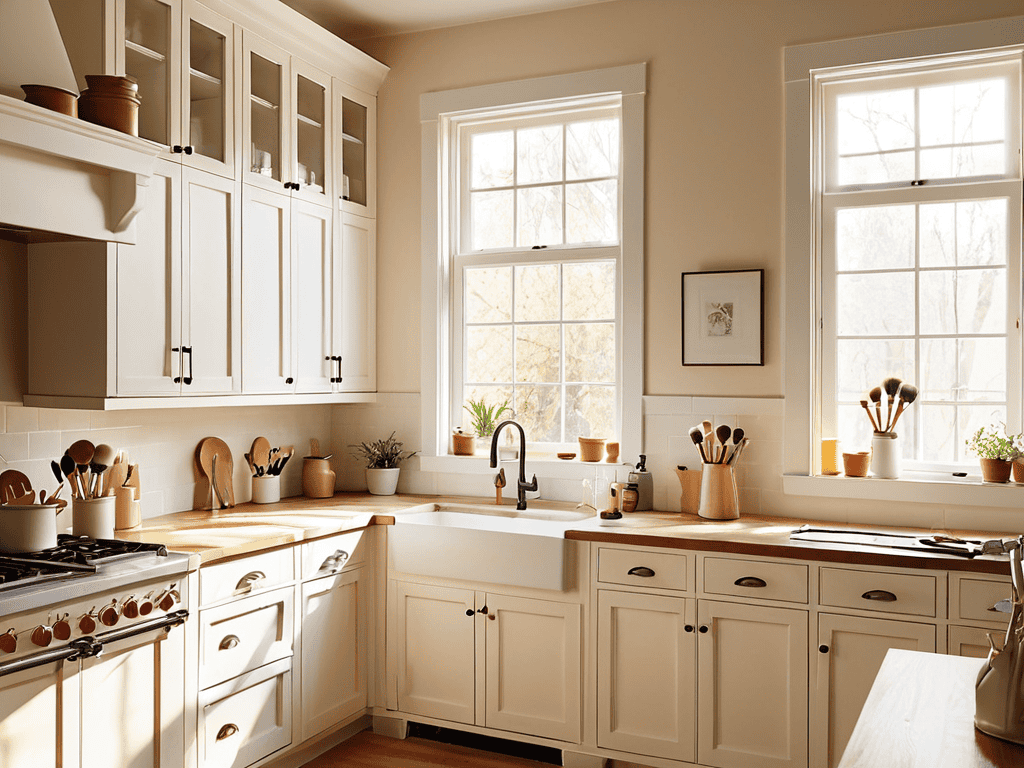
In addition to hardware, cabinet painting techniques can greatly impact the final result. For beginners, it’s essential to start with a smooth surface, which may involve lightly sanding the cabinets to remove any imperfections. This will help the paint adhere evenly and prevent a rough finish. When selecting a paint color, consider the current kitchen cabinet color trends, which often feature soft, calming hues such as whites, creams, and grays.
To avoid common mistakes, be sure to diy cabinet refinishing tips from experienced renovators. This may include applying a primer before painting, using high-quality paint, and working in a well-ventilated area. By following these tips and taking your time, you can achieve a beautiful, professional-looking finish that will elevate the entire kitchen. Remember, the key to a successful cabinet makeover is patience and attention to detail.
Cabinet Revival Kitchen Makeover Ideas
As you’re planning your cabinet revival, it’s essential to consider the overall aesthetic you want to achieve in your kitchen. To help you narrow down your color options, you can explore various online resources that offer a wide range of inspiration and guidance. For instance, you can visit websites like transensex to get a sense of the latest trends and styles in kitchen design. By browsing through their collection of ideas and tips, you can gain a better understanding of how to choose the perfect shade to match your kitchen’s unique personality, and ultimately, create a fresh and exciting atmosphere that reflects your personal taste.
Now that you’ve given your kitchen cabinets a fresh coat of paint, it’s time to think about the overall aesthetic you want to achieve. Consider the style and era of your kitchen, as well as your personal preferences. Do you want a modern and sleek look, or a more traditional and rustic feel? Think about the colors and textures that will complement your newly painted cabinets. You can also add some decorative touches, such as new hardware or a fun kitchen backsplash, to really make your space pop.
Some popular kitchen makeover ideas include adding a kitchen island, installing new lighting fixtures, or incorporating natural elements, such as a living wall or a vase with fresh flowers. These small touches can make a big impact and help tie your whole kitchen together.
Choosing Colors Trends for a Fresh Look
When it comes to choosing colors for your kitchen cabinets, the options can be overwhelming. To achieve a fresh look, consider trends like soft pastels, crisp whites, and warm neutrals. These hues can help create a bright and airy feel in your kitchen. For a bolder look, you could opt for rich blues or emerald greens, which can add a pop of color and personality to the space.
Ultimately, the right color for your kitchen cabinets will depend on your personal style and the overall aesthetic you want to achieve. Take inspiration from nature, design blogs, or social media to find the perfect shade that reflects your unique taste and complements your kitchen’s decor.
Bringing it all Together: 5 Essential Tips for a Successful Cabinet Makeover
- Prepare for Perfection: Clean and degrease your cabinets before painting to ensure a smooth, even finish
- Prime Time: Apply a high-quality primer to create a strong bond between the old surface and the new paint
- Color Your World: Select a color scheme that complements your kitchen’s style and era, and don’t be afraid to add a pop of color with a bold accent wall
- Brush Up: Choose the right brush or roller for the job, and consider using a foam brush for a smooth, streak-free finish
- Seal the Deal: Apply a clear coat of polyurethane to protect your freshly painted cabinets from scratches and spills, and keep them looking fresh for years to come
Key Takeaways for a Successful Cabinet Makeover
To achieve a truly fresh look, don’t be afraid to experiment with bold, new colors and finishes that reflect your personal style and complement the existing décor of your kitchen
Proper preparation is key: ensure all cabinets are thoroughly cleaned, sanded, and primed before applying paint to guarantee a smooth, durable finish
Consider the overall aesthetic you want to achieve, whether modern, traditional, or a mix, and choose your paint, hardware, and accessories accordingly to create a cohesive and inviting kitchen space
Transforming Your Space
A fresh coat of paint on your kitchen cabinets is more than just a cosmetic update – it’s a chance to redefine the heart of your home and make every meal a masterpiece.
Emily Wilson
Bringing It All Together

As we’ve explored in this guide to painting your kitchen cabinets for a fresh look, the process is all about transforming the heart of your home. From the initial preparation to the final coat of paint, each step is crucial in achieving a professional-grade finish. We’ve discussed the importance of choosing the right colors, preparing your cabinets, and applying the perfect coat of paint. By following these steps and considering the latest trends, you can give your kitchen a whole new vibe that reflects your personal style and complements the rest of your home’s decor.
Now that you have the tools and inspiration to tackle your cabinet makeover, remember that it’s all about having fun and being creative with the process. Don’t be afraid to experiment with different colors and techniques until you find the look that’s just right for you. With a little patience and elbow grease, you can achieve a beautiful, long-lasting finish that will make your kitchen the envy of all your friends and family. So go ahead, get painting, and enjoy the thrill of seeing your kitchen transform before your eyes!
Frequently Asked Questions
What type of paint is best for kitchen cabinets?
For kitchen cabinets, I swear by high-quality, water-based acrylic paints or epoxy-based enamels. They’re super durable, easy to clean, and resistant to scratches and fading. Plus, they come in a wide range of finishes, from matte to glossy, so you can choose the perfect look for your kitchen.
How do I prepare my cabinets for painting to ensure a smooth finish?
To get your cabinets ready for a silky smooth finish, start by removing all hardware and giving them a good clean with a degreaser to wipe away any grease or grime. Next, lightly sand the surfaces to roughen them up for better paint adhesion, and fill any dents or holes with a wood filler.
Can I paint my kitchen cabinets without removing the hardware or do I need to take everything off?
You can definitely paint your kitchen cabinets without removing the hardware, but it’s highly recommended to take off the knobs and handles to avoid any paint splatters or drips. If you’re short on time, use masking tape to protect the hardware, but be aware that the finish might not be as smooth.