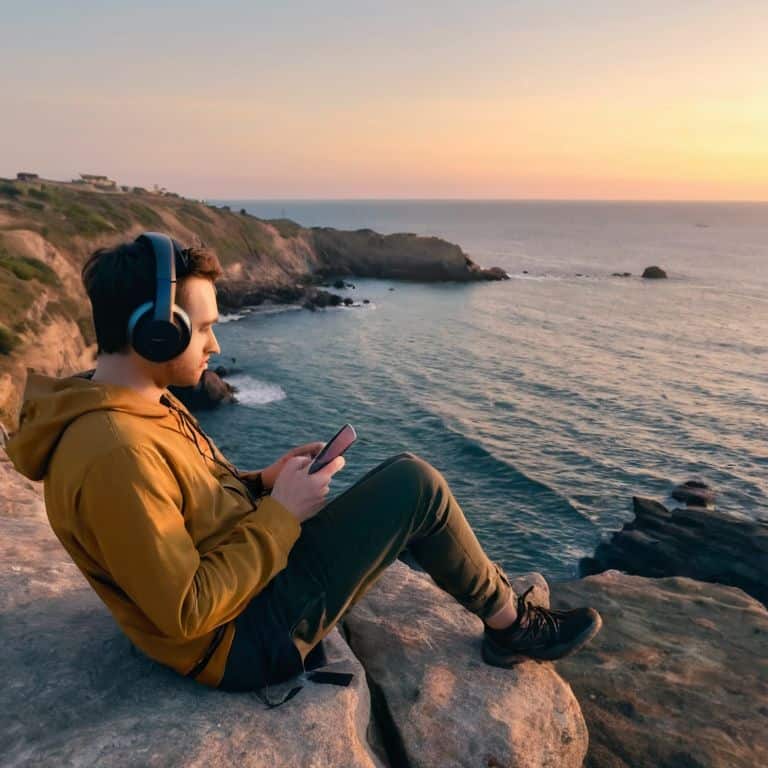
I still remember the moment I realized that editing travel videos on my phone was a total game-changer for my Instagram feed. I was on a rooftop in Tokyo, watching the sunset over the neon-lit city, and I knew I had to capture the essence of that moment. But, let’s be real, who has the time or patience to sit at a desk and edit hours of footage? That’s why I’m excited to share my tips on how to edit travel videos on your phone, so you can turn your travels into stunning, envy-inducing clips.
In this article, I’ll give you the lowdown on my favorite mobile editing hacks, from choosing the right app to adding that perfect filter. You’ll learn how to transform your raw footage into a captivating story that will leave your friends and family wondering how you did it. I’ll share my personal secrets for creating breathtaking travel videos that are sure to boost your social media engagement. Whether you’re a seasoned traveler or just starting to plan your next adventure, this guide will give you the practical advice you need to take your mobile editing skills to the next level and make your travels truly unforgettable.
Table of Contents
Guide Overview: What You'll Need
Total Time: 1 hour 30 minutes
Estimated Cost: $0 – $10
Difficulty Level: Easy
Tools Required
- Smartphone (with video editing app)
- Portable Charger (optional)
- Headphones (for better audio quality)
Supplies & Materials
- None No additional supplies needed
Step-by-Step Instructions
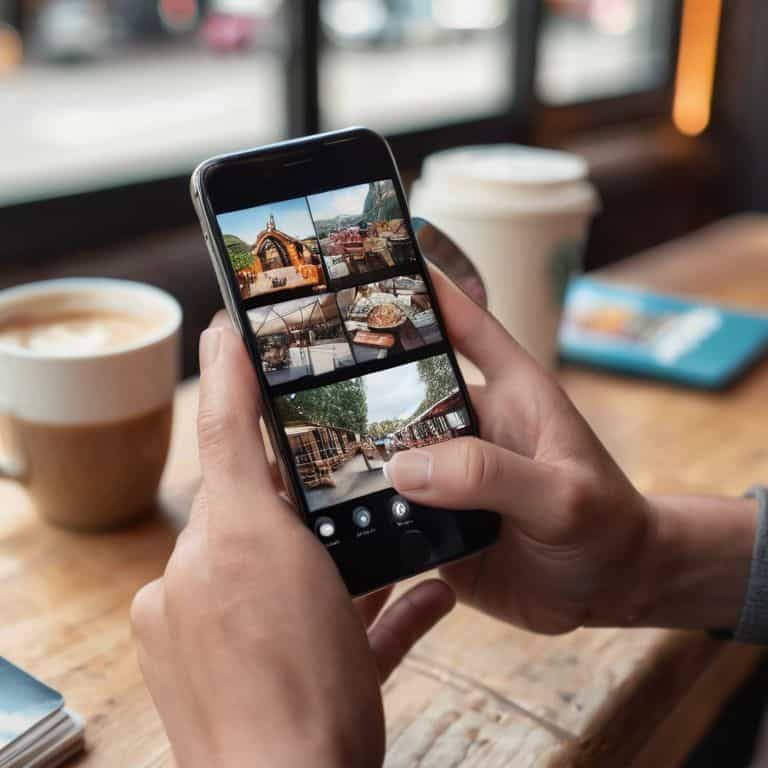
- 1. First, let’s talk about preparing your footage – this is where the magic happens, and I’m excited to share my top tips with you. To start editing your travel videos on your phone, you’ll need to gather all the clips you want to use and transfer them to your mobile device. I like to use a cloud storage service to keep all my files organized and easily accessible. Once you have all your footage in one place, it’s time to choose an editing app that suits your style – I personally love using InShot or Adobe Premiere Rush.
- 2. Next, you’ll want to import your clips into the editing app you’ve chosen. This is usually a straightforward process, but make sure you’re selecting the right resolution and frame rate to ensure your video looks sharp and smooth. I always try to shoot in 4K whenever possible, as it gives me more flexibility when editing. Take your time to review each clip and select the best parts to include in your final video – this will help you tell a compelling story and keep your viewers engaged.
- 3. Now it’s time to start arranging your clips in a logical order. Think about the story you want to tell with your video – do you want to take your viewers on a journey through a new city, or show them the highlights of a thrilling adventure? I like to create a rough outline before I start editing, to help me stay focused and ensure my video flows well. Don’t be afraid to experiment and try out different arrangements until you find one that works for you.
- 4. With your clips in place, it’s time to add some visual flair to your video. This can include transitions, color corrections, and other effects that enhance the mood and atmosphere of your footage. I’m a big fan of using subtle transitions to move between clips, as they help create a sense of continuity and flow. Be careful not to overdo it, though – too many effects can be distracting and take away from the beauty of your footage.
- 5. Next up, let’s talk about adding music to your video. This is a crucial step, as the right soundtrack can make or break the mood and atmosphere of your film. I like to choose a soundtrack that complements the tone and style of my video – for example, if I’m creating a fast-paced action sequence, I’ll choose an energetic and upbeat track to match. Make sure you have the necessary permissions to use the music you’ve chosen, and consider using royalty-free tracks to avoid any copyright issues.
- 6. Now that your video is starting to take shape, it’s time to add some context with text overlays and captions. I like to use these to provide additional information about the places I’m visiting, or to add a personal touch to my story. Keep your text concise and easy to read, and experiment with different fonts and colors to find a style that fits your brand. Remember to keep your captions brief and to the point, as you want your viewers to focus on the stunning visuals, not get bogged down in too much text.
- 7. As you near the end of your editing process, take some time to fine-tune your video and make any final adjustments. Check the pacing, audio levels, and overall flow of your film, and make sure everything is working together in harmony. I like to take a break from my edit and come back to it with fresh eyes, as this helps me catch any mistakes or areas for improvement. Finally, export your video in the right format and resolution, and get ready to share your masterpiece with the world.
Mastering Mobile Video Editing
As I delve deeper into the world of mobile video editing, I’ve discovered that mastering the art of storytelling is key to creating captivating travel videos. It’s not just about stringing together a series of clips, but about crafting a narrative that transports your viewers to new and exciting destinations. To achieve this, I recommend experimenting with different video editing apps for beginners, such as InShot or Adobe Premiere Rush, to find the one that works best for you.
When it comes to smartphone filmmaking tips, I always stress the importance of paying attention to phone camera settings for video. This includes adjusting the exposure, contrast, and color temperature to ensure your footage is well-lit and visually appealing. Additionally, investing in a good microphone can make a huge difference in the quality of your audio, allowing you to capture crisp and clear sound that complements your stunning visuals.
To take your mobile video editing to the next level, consider exploring color grading for travel videos. This involves adjusting the color palette and tone of your footage to create a consistent look and feel that enhances the overall mood and atmosphere of your video. By applying a subtle color grade, you can add depth and emotion to your story, making it even more engaging and immersive for your viewers.
Elevating Travel Vlogs With Color Grading
To take your travel vlogs to the next level, I swear by color grading. It’s all about adding a unique tone and atmosphere to your footage, making it truly unforgettable. I mean, think about it – a warm, sun-kissed glow can transport your viewers to a tropical paradise, while a moody, blue-ish hue can make a cityscape feel edgy and cool.
I’ve got a few go-to color grading techniques that I use to give my videos that extra oomph. From subtle tweaks to bold, dramatic changes, it’s all about experimenting and finding the look that works best for your story. And the best part? You can achieve amazing results right on your phone, using apps like Lightroom or VSCO. Trust me, once you master color grading, your travel vlogs will never be the same!
Unlocking Smartphone Filmmaking Secrets
To take your mobile video editing to the next level, it’s all about experimenting with different techniques. I’m obsessed with playing around with time-lapses, hyperlapses, and even stop-motion to add some serious wow-factor to my clips. And let’s not forget about audio – I always try to capture high-quality sound to complement my visuals, whether it’s the sound of waves crashing or the hustle and bustle of a city street. By incorporating these elements, you’ll be able to create videos that are truly cinematic and engaging.
One of my favorite smartphone filmmaking secrets is using the ‘rule of thirds’ to compose my shots. It’s amazing how much of a difference it can make to the overall aesthetic of your video. I also love using my drone to capture breathtaking aerial footage – it adds a whole new perspective to my travels and gives my videos a seriously professional edge.
5 Game-Changing Tips to Elevate Your Travel Videos
- Keep it concise: aim for 60-second clips that capture the essence of your adventure
- Play with pacing: mix fast-paced cuts with slow-motion shots to add drama and tension
- Color grade like a pro: use presets or manual adjustments to give your footage a consistent, cinematic look
- Add context with captions: include fun facts, location tags, and personal anecdotes to make your videos more engaging
- Experiment with audio: add music, sound effects, or voiceovers to bring your travel stories to life and evoke emotions
3 Key Takeaways to Elevate Your Travel Videos
Master the art of mobile video editing to turn your travel footage into stunning, shareable clips
Unlock the secrets of smartphone filmmaking to capture breathtaking moments and elevate your travel vlogs
Experiment with color grading and creative editing techniques to add a personal touch and make your travel videos truly unforgettable
Capturing Wanderlust
Editing travel videos on your phone is not just about tweaking clips, it’s about crafting a visual narrative that transports your audience to the edge of the Grand Canyon at sunset, or the tranquil beaches of Bali at dawn – it’s where the journey meets the art.
Liam Harrison
Capturing the Essence of Travel: A Final Thought
As we’ve journeyed through the world of mobile video editing, we’ve uncovered the secrets to transforming your travel footage into breathtaking cinematic experiences. From the initial steps of capturing stunning footage to the final touches of color grading, we’ve explored the essential techniques to elevate your travel vlogs. By mastering these skills, you’ll be able to showcase your adventures in a way that’s both personal and captivating, making your audience feel like they’re right there with you.
So, the next time you embark on a journey, remember that your phone is not just a device, but a storytelling tool. With these editing skills, you’ll be able to relive your travels and inspire others to explore the world. As you sit down to edit your next travel video, I encourage you to think about the emotion you want to convey, and let that guide your creative process. Happy editing, and I’ll catch you on the flip side!
Frequently Asked Questions
What are the best mobile apps for editing travel videos on the go?
I swear by InShot, Adobe Premiere Rush, and PowerDirector – they’re my go-to mobile apps for editing travel videos on the fly! Each has its own unique features, but all offer ease of use and stunning results. Trust me, with these apps, you’ll be creating envy-inducing travel vids in no time!
How can I stabilize shaky footage from my phone to make my travel videos look more professional?
Shaky footage got you down? I feel you! I swear by the built-in stabilization features in my editing apps – they’re total lifesavers! You can also try using a handheld gimbal or a tripod to minimize camera shake while filming. Trust me, it makes all the difference in creating pro-looking travel vids!
What are some tips for adding music to my travel videos without getting copyright strikes on social media?
Dude, music makes or breaks a travel vid! To avoid copyright strikes, I only use royalty-free tracks or license them from reputable sites like Audio Library or Epidemic Sound. You can also use social media’s built-in music libraries – they’re surprisingly fire!


