I still remember the day I brought home my first robot vacuum – I was so excited to have a new cleaning BFF, but little did I know, my space wasn’t quite ready for it. As I delved into the world of how to prep your home for a robot vacuum, I realized that it’s not just about dumping the device in the middle of the room and hoping for the best. In fact, a common myth is that robot vacuums can navigate through any space with ease, but the truth is, a little preparation can go a long way in making your life (and your robot’s life) much easier.
As you embark on this journey to prep your home for a robot vacuum, I want to assure you that it’s not as daunting as it seems. In this article, I’ll be sharing my personal tips and tricks on how to get your space ready for its new robotic resident. From clearing clutter to creating a robot-friendly zone, I’ll guide you through the process with practical advice and honest insights. By the end of this read, you’ll be well on your way to creating a harmonious haven where you and your robot vacuum can coexist in perfect bliss.
Table of Contents
Guide Overview: What You'll Need

Total Time: 1 hour 15 minutes
Estimated Cost: $0 – $20
Difficulty Level: Easy
Tools Required
- Measuring Tape (for measuring furniture and obstacles)
- Scissors (for cutting cords or carpet tassels)
- Tape (for securing loose cords or edges)
Supplies & Materials
- Cord Organizers (for managing cords and cables)
- Museum Putty (for securing small items like toys or decorations)
- Rug Guards (for protecting rugs from robot vacuum damage)
Step-by-Step Instructions
- 1. First, let’s clear the clutter from our floors, which means picking up any toys, shoes, or items that could get in the way of our new robot vacuum friend. I like to think of it as a chance to give my home a mini-makeover, and it’s also a great opportunity to reorganize and declutter.
- 2. Next, we need to map out our space, which involves taking a good look around each room and identifying any areas that might be tricky for the robot vacuum to navigate. This could include things like tight spaces between furniture, loose cords, or fragile items that we don’t want to get damaged.
- 3. Now, let’s talk about cable management, which is essential for keeping our floors clear and our robot vacuum running smoothly. I like to use cable ties or cord organizers to keep all the cords and wires tidy, and it’s also a good idea to label each cord so we know what it belongs to.
- 4. The fourth step is to secure any loose rugs or mats that might get sucked up or tangled in the robot vacuum. We can use double-sided tape or non-slip underlay to keep them in place, and it’s also a good idea to trim any excess fabric or threads that might get caught.
- 5. Fifth on our list is to protect our belongings, which means moving any breakable or valuable items to a safe place where they won’t get damaged. We should also cover any surfaces that we don’t want to get scratched or marked, such as wooden floors or delicate furniture.
- 6. Next up, we need to designate a charging station for our robot vacuum, which should be in a convenient location and out of the way of foot traffic. We should also make sure that the charging dock is level and stable, and that the power cord is securely plugged in.
- 7. Finally, let’s test our robot vacuum and make sure it’s working properly. We should read the manual and follow the manufacturer’s instructions for initial setup and maintenance, and it’s also a good idea to run a few test cycles to make sure everything is running smoothly.
Prep Home for Robot Vacuum

As I always say, a single statement piece can make or break a room, but when it comes to robot vacuums, it’s all about creating a seamless experience. To ensure optimal robot vacuum navigation, take some time to assess your space and remove any small objects that could get in the way. This will not only prevent any potential damage to your belongings but also allow your robot vacuum to move freely and efficiently.
When it comes to pet owners, pet hair management is crucial to keep your robot vacuum running smoothly. Regularly grooming your pets and cleaning high-traffic areas can make a huge difference. Additionally, consider creating a robot vacuum maintenance schedule to ensure your device is always in top condition. This can include regularly cleaning the brushes and sensors, as well as updating the software to ensure you have the latest features and reliable wifi connectivity.
By understanding how robot vacuum mapping technology works, you can better optimize your space for efficient cleaning. Take note of any areas that your robot vacuum tends to get stuck in or avoids, and make adjustments accordingly. This might involve rearranging furniture or removing clutter to create a more streamlined path. With a little patience and practice, you can create a harmonious relationship between your robot vacuum and your home, making cleaning a breeze and freeing up more time for the things you love.
Pet Hair Hacks for Reliable Wifi Connectivity
To ensure your robot vacuum stays connected to its WiFi network, it’s essential to minimize interference from pet hair and other debris. As a pet owner and interior design enthusiast, I’ve learned a thing or two about keeping my furry friends’ hair under control. Regular grooming sessions and strategic placement of furniture can help reduce the amount of pet hair circulating in the air.
I also swear by using a HEPA air purifier, which not only reduces pet dander but also helps keep the air clean for better WiFi signal reception. By implementing these simple hacks, you can enjoy reliable WiFi connectivity and a cleaner, healthier home for both you and your robot vacuum to thrive in.
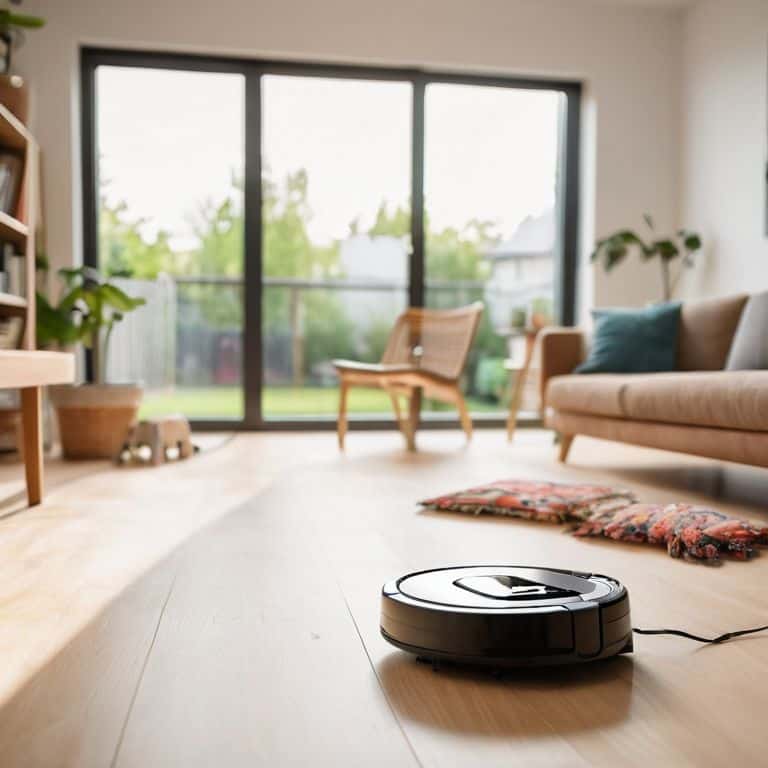
Sweep Away Clutter for Optimal Navigation
Sweep Away Clutter for Optimal Navigation
To ensure your robot vacuum can glide effortlessly around your space, it’s essential to tackle any clutter that might be in its way. Take a few minutes to pick up items like shoes, toys, or cords that could get tangled or stuck. I like to think of it as a mini decluttering session – it’s amazing how much of a difference it can make! By clearing the floor, you’ll not only help your robot vacuum navigate more efficiently, but you’ll also get to enjoy a more streamlined and serene living area.
Give your floors a quick once-over, and relocate any items that could obstruct your robot vacuum’s path. This will help it get into all the nooks and crannies, leaving your floors spotless.
5 Essential Tips to Get Your Space Robot-Ready
- Clear the Floor: Pick up any clutter, toys, or cords that could get in the way of your robot vacuum’s navigation
- Map Out the Space: Help your robot vacuum learn the layout of your home by creating a mental or physical map of the area
- Secure the Wi-Fi: Ensure reliable connectivity by placing your router in a central location and minimizing interference from other devices
- Charge It Up: Designate a specific spot for your robot vacuum to charge, keeping it out of the way but still accessible
- Maintain the Momentum: Regularly clean and maintain your robot vacuum to ensure it continues to run smoothly and efficiently
Key Takeaways to Sweep You Off Your Feet
Clear the clutter: Give your robot vacuum a clean slate by picking up any items that could get in the way, from toys and books to charging cables and shoes
Map out your space: Help your robot vacuum navigate your home with ease by creating a mental or physical map of your layout, including any areas you want it to avoid or focus on
Maintain the magic: Keep your robot vacuum running smoothly and efficiently by regularly cleaning its brushes and sensors, and updating its software to ensure it stays on top of its game
Prepping Your Space with Love
A robot vacuum isn’t just a gadget, it’s a gateway to a more effortless you – so let’s get your home ready to shine, one clutter-free corner at a time!
Isabelle Hart
Bringing it All Together: A Home Ready for its New Best Friend

As we’ve gone through the steps to prep your home for a robot vacuum, remember that it’s all about creating a harmonious space where technology and style blend seamlessly. We’ve swept away clutter for optimal navigation, tackled those pesky pet hair hacks for reliable WiFi connectivity, and essentially given our homes a refresh to make the most of our new robotic companion. By following these simple yet effective tips, you’re not just making your life easier, you’re also embracing a smarter way of living that combines innovation with interior design flair.
Now, as you welcome your robot vacuum into its new home, take a step back and admire the beautiful chaos you’ve tamed. Your space is not just clean and efficient; it’s a reflection of your personality, a fusion of form and function that makes coming home every day a joy. So, go ahead, get creative with your decor, and don’t be afraid to try out new styles and trends. With your robot vacuum by your side, you’re free to focus on what truly matters – making your house a home that tells your unique story.
Frequently Asked Questions
Will a robot vacuum be able to navigate around my furniture without getting stuck?
Don’t worry, I’ve got you covered. Most robot vacuums are designed to navigate around furniture with ease. They usually come equipped with sensors that detect and avoid obstacles, so they can glide around your sofa or chair without getting stuck. Just make sure to pick up any super low-hanging decor or pesky cords that might cause a snag!
How often should I clean my robot vacuum to ensure it continues to work efficiently?
Hey, girl! To keep your robot vacuum BFF running smoothly, clean it every 1-2 weeks. Remove any hair or debris from the brushes and empty the dustbin after each use. A quick wipe down with a dry cloth will also do wonders. Trust me, it’s worth the extra minute to keep your home spotless and your robot vacuum in top shape!
Can I use a robot vacuum on all types of flooring, including carpets, hardwood, and tile?
Honey, the answer is yes! Most robot vacuums can handle multiple flooring types, from plush carpets to sleek hardwood and tile. Just check your robot’s specs to ensure it’s compatible with your floors. Some models even come with specialized brushes for different surfaces, so you can get a deep clean no matter what’s underfoot.