I still remember the first time I tried to install a smart thermostat in my own home – it was a total disaster! I had heard all the myths about how complicated and expensive it was, but I was determined to give it a shot. As it turns out, most of the horror stories I’d heard were completely exaggerated. In fact, learning how to install a smart thermostat was one of the best decisions I ever made for my home’s style and functionality. It’s amazing how a simple device can make such a huge difference in the ambiance and efficiency of your space.
So, if you’re ready to take the plunge and start enjoying the benefits of a smart thermostat, you’re in the right place! In this article, I’ll walk you through the no-nonsense, step-by-step process of how to install a smart thermostat, from preparation to completion. You’ll get honest, practical advice on what to expect, how to choose the right device for your needs, and how to troubleshoot any common issues that may arise. By the end of this guide, you’ll be well on your way to creating a cozy, high-tech oasis that’s perfectly tailored to your unique style and preferences.
Table of Contents
Guide Overview: What You'll Need

Total Time: 2 hours 30 minutes
Estimated Cost: $100 – $250
Difficulty Level: Intermediate
Tools Required
- Voltage Tester (to ensure power is off)
- Screwdriver (flathead and Phillips)
- Pliers (for wire manipulation)
- Wire Strippers (for stripping insulation)
- Drill (with 1/8 inch drill bit)
Supplies & Materials
- Smart Thermostat Device
- Mounting Screws (usually provided with thermostat)
- Wall Anchors (if necessary for your wall type)
- 20 inches of 18-gauge wire (for connections between thermostat and heating/cooling system)
- Electrical Tape (for securing wires)
Step-by-Step Instructions
- 1. First, let’s get started with the basics – before you begin the installation process, make sure you’ve purchased the right smart thermostat for your home’s specific HVAC system. Take some time to read reviews, compare features, and consider factors like compatibility, ease of use, and energy efficiency.
- 2. Next, turn off the power to your heating and cooling system at the circuit breaker or fuse box – this is a crucial safety step to avoid any potential electrical shocks or injuries. Verify that the system is completely off by checking the thermostat and ensuring that the heating or cooling units are not operating.
- 3. Now, remove the old thermostat – this is usually a simple process that involves taking out a few screws and gently pulling the device away from the wall. Be careful not to damage any of the wires, as you’ll need to reconnect them to your new smart thermostat. Take a moment to label the wires to ensure you know which ones connect to which terminals.
- 4. With the old thermostat removed, it’s time to mount the new smart thermostat – follow the manufacturer’s instructions for this step, as the process may vary slightly depending on the specific model you’ve chosen. Typically, you’ll need to attach a mounting plate to the wall and then screw the thermostat into place.
- 5. Carefully connect the labeled wires to the corresponding terminals on your new smart thermostat – make sure each wire is securely attached to avoid any issues with the system’s performance. If you’re unsure about any of the connections, consider consulting the user manual or contacting a professional for assistance.
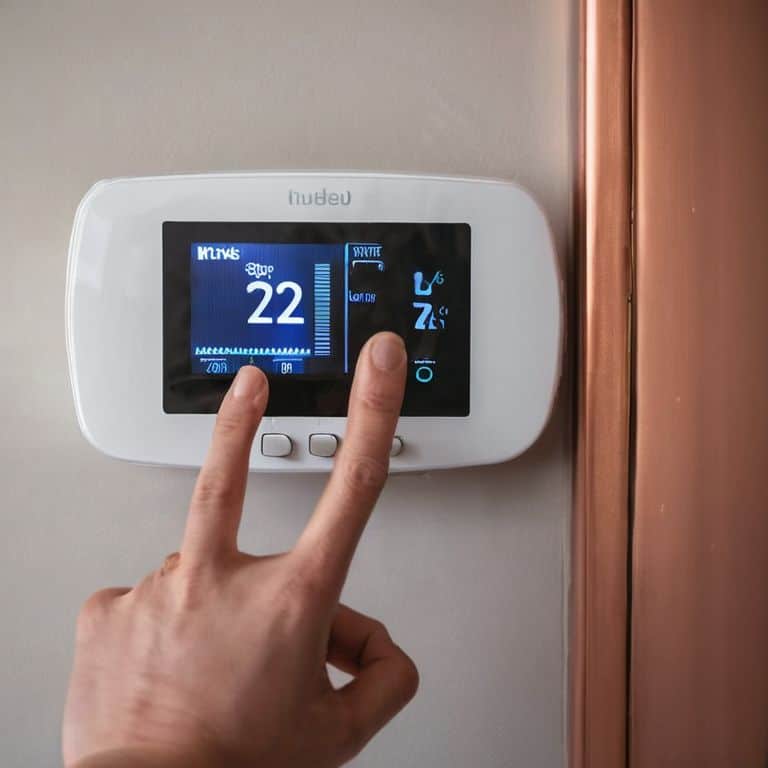
- 6. Turn the power back on at the circuit breaker or fuse box and test your new smart thermostat to ensure it’s working properly – check that the display is functioning correctly, and that the heating and cooling systems are responding as expected. Take a few minutes to familiarize yourself with the menu and settings to get the most out of your new device.
- 7. Finally, download and install the accompanying app for your smart thermostat – this will allow you to control your temperature settings remotely, receive energy usage reports, and take advantage of other convenient features like scheduling and geofencing. Spend some time exploring the app’s capabilities and customizing your settings to suit your lifestyle and preferences.
Smart Thermostat Installation Guide
When it comes to smart thermostat compatibility with existing systems, it’s essential to consider a few factors before making a purchase. Ensure that your new smart thermostat is compatible with your home’s HVAC system, as well as any other smart devices you may have. This will enable seamless integration and allow you to control your home’s temperature with ease. I’ve found that wireless smart thermostat installation can be a game-changer, eliminating the need for cumbersome wiring and making the process much simpler.
To get the most out of your smart thermostat, consider setting up geofencing thermostat setup. This feature allows your thermostat to detect when you’re away from home and adjust the temperature accordingly, helping to reduce energy waste and save you money. I’ve also discovered that learning thermostat benefits are numerous, as these devices can learn your schedule and preferences over time, optimizing your home’s temperature for maximum comfort and energy efficiency.
By following these tips and considering factors like thermostat c wire explanation, you can ensure a smooth and successful installation. Remember to also explore smart thermostat energy efficiency tips to get the most out of your new device. With a little planning and research, you can enjoy a cozy and comfortable home while saving energy and reducing your utility bills.
Cozy Up to Savings With Wireless Thermostats
Now that we’ve covered the basics of smart thermostat installation, let’s dive into one of my favorite features: wireless thermostats. I mean, who doesn’t love the idea of being able to control their home’s temperature from anywhere? Wireless thermostats offer the ultimate in convenience and flexibility, allowing you to adjust the temperature, schedule changes, and even monitor your energy usage all from your smartphone. Plus, they’re often super easy to install, with no wires or complicated setup required. It’s a total game-changer for cozying up to savings and taking your smart home to the next level.
Unlock Geofencing and Learning Thermostat Benefits
Now that we’ve got the basics covered, let’s dive into some of the advanced features that make smart thermostats truly shine. One of my favorites is geofencing – it’s like having your own personal thermostat butler! Essentially, it uses your phone’s location to detect when you’re coming or going, and adjusts the temperature accordingly. And then there’s the learning thermostat feature, which uses AI to learn your schedule and preferences over time. It’s amazing to see how much of a difference these features can make in terms of both convenience and energy savings. By harnessing the power of geofencing and learning thermostats, you can create a home that’s not only stylish, but also incredibly smart.
Thermostat Hacks to Save You Time and Money

- Choose the right smart thermostat for your home by considering factors like compatibility, features, and price
- Prepare your space before installation by turning off the power to your HVAC system and gathering necessary tools
- Follow the manufacturer’s instructions for wiring and mounting the thermostat to ensure a seamless and safe installation
- Test your smart thermostat after installation to ensure it’s working correctly and integrated with your other smart devices
- Explore additional features like geofencing, scheduling, and energy usage tracking to maximize your smart thermostat’s potential and save on energy bills
My Top 3 Smart Thermostat Takeaways
Upgrading to a smart thermostat can instantly elevate your home’s style and functionality, while also saving you money on your energy bill – it’s a total win-win!
With features like geofencing and learning capabilities, you can enjoy a cozier, more personalized space that adjusts to your unique schedule and preferences
By choosing the right smart thermostat for your needs and installing it with ease, you’ll be well on your way to creating a space that’s not only beautiful, but also perfectly you
Smart Thermostat Wisdom
Installing a smart thermostat is more than just a practical upgrade – it’s a chance to redefine your relationship with your home, to make every space a reflection of your personal style and a haven of comfort and serenity.
Isabelle Hart
Wrapping Up Your Smart Thermostat Journey
You’ve made it through the step-by-step guide and are now equipped with the knowledge to install your very own smart thermostat. From cozying up to savings with wireless thermostats to unlocking the benefits of geofencing and learning thermostats, we’ve covered it all. Remember, the key to a successful installation is to take your time and follow the instructions carefully. Don’t hesitate to reach out if you have any questions or need further clarification on any of the steps. With your new smart thermostat, you’ll be able to enjoy a more energy-efficient and comfortable home.
As you finish up your installation and start enjoying the benefits of your new smart thermostat, I want to leave you with a final thought: your home, your way. Don’t be afraid to get creative and make your space truly reflect your personality. With the money you’ll be saving on your energy bill, you can invest in some beautiful decor or unique furniture pieces that will make your home truly special. Happy decorating, and don’t forget to share your stylish smart thermostat setup with me on social media!
Frequently Asked Questions
What are the most common mistakes to avoid when installing a smart thermostat?
Hey, lovely! When installing a smart thermostat, beware of common mistakes like incorrect wiring, inadequate Wi-Fi signal, and not calibrating the device properly. Also, make sure to turn off the power to your HVAC system before starting the installation to avoid any safety hazards.
Can I install a smart thermostat if I have an older heating or cooling system?
Don’t worry, sweetie! Most smart thermostats are compatible with older systems, but it’s essential to check the specs. Look for thermostats that support your system’s type, such as gas, oil, or electric. Some popular brands even offer adapters for older systems, so you can still upgrade to smart temperature control and enjoy the benefits of a modern thermostat.
How do I know which type of smart thermostat is compatible with my home's existing wiring and HVAC setup?
Before choosing a smart thermostat, let’s get techy for a sec! Check your existing wiring and HVAC setup to ensure compatibility. Look for thermostats with universal compatibility or check the manufacturer’s specs to confirm. Some popular models even have a ‘compatibility checker’ tool on their website – isn’t that genius?