I still remember the day I decided to take the plunge – literally. I was researching how to build your own cold plunge and stumbled upon a plethora of complicated tutorials that left me more confused than a beginner at a CrossFit gym. The common myth is that building a cold plunge is a monumental task, requiring a small fortune and a PhD in engineering. But let me tell you, it’s simpler than you think. I’ve always been fascinated by the latest trends in wellness, and as a former competitive gymnast, I’m no stranger to pushing my body to its limits. My obsession with optimizing human performance led me to try out various gadgets and techniques, including tracking my sleep data obsessively and testing nootropics.
As someone who’s passionate about high-performance wellness, I’m excited to share my personal experience with building a cold plunge. In this article, I’ll walk you through the exact steps I took to create my own cold plunge, from selecting the right materials to overcoming common obstacles. You’ll get practical, no-hype advice on how to build a cold plunge that fits your specific needs and budget. Whether you’re a seasoned biohacker or just starting to explore the world of wellness, this guide will give you the confidence to take the plunge and start experiencing the benefits of cold therapy for yourself. So, if you’re ready to upgrade your health and join the ranks of the wellness elite, keep reading!
Table of Contents
Guide Overview: What You'll Need
Total Time: 4 hours 30 minutes
Estimated Cost: $500 – $1,500
Difficulty Level: Hard
Tools Required
- Circular Saw (for cutting lumber)
- Drill Press (for precise hole drilling)
- Jigsaw (for curved cuts in plastic or metal)
- Sandpaper (for smoothing out surfaces)
- Wrench (for tightening bolts and nuts)
- Trowel (for applying insulation and sealants)
- Level (for ensuring the tank is properly aligned)
- Measuring Tape (for accurate measurements)
- Pliers (for gripping and bending small objects)
Supplies & Materials
- 2-in x 6-in lumber (for framing the plunge pool)
- PVC Pipe (for plumbing and drainage)
- Insulation Foam (for maintaining cold temperatures)
- EPDM Rubber Liner (for waterproofing the tank)
- Chlorine Resistant Glue (for bonding the liner to the tank)
- Thermometer (for monitoring water temperature)
- Submersible Pump (for water circulation and filtration)
- Ice Bath Cooler (for cooling the water to desired temperatures)
- Steel Reinforcement (for added structural support)
Step-by-Step Instructions
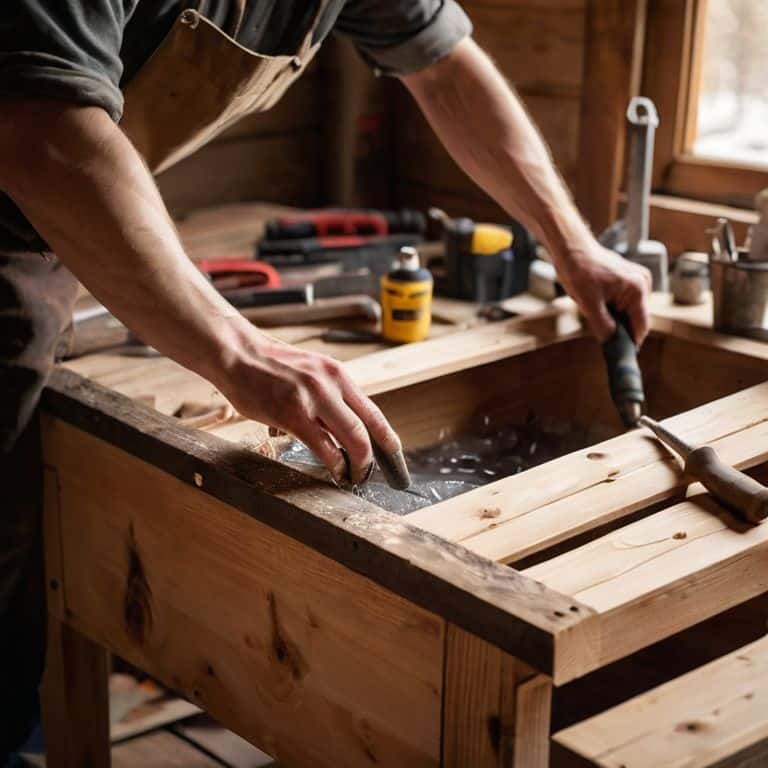
- 1. First, let’s start with the basics – you’ll need a large container that can hold a significant amount of water, and I mean significant, think at least 100 gallons. I opted for a food-grade plastic tank, which I found online, and it’s been a game-changer for my recovery routine.
- 2. Next, you’ll need to prepare the area where your cold plunge will sit, and trust me, you want it to be level and stable – the last thing you need is for the whole thing to tip over and flood your garage or basement. I used a few anti-vibration pads to ensure it’s secure and won’t budge.
- 3. Now it’s time to think about the cooling system, and this is where things can get really interesting. I chose to use a chiller unit specifically designed for cold plunges, which can drop the temperature down to a bone-chilling 39°F – perfect for cryotherapy benefits. Make sure you follow the manufacturer’s instructions for installation.
- 4. While the chiller unit is the star of the show, you’ll also need a pump to circulate the water and keep it from becoming stagnant. I went with a high-flow rate pump that can handle the large volume of water in my tank, and it’s been doing its job flawlessly.
- 5. With the hardware in place, it’s time to add some insulation to keep the cold in and the warmth out. I used a thick layer of foam board insulation around the tank and even added a thermally insulated lid to minimize heat loss. This step is crucial for maintaining the optimal temperature.
- 6. Now we’re getting to the fun part – safety features. I installed a non-slip surface around the tank to prevent slipping and falling, and I also added a handrail for easy entry and exit. Don’t skip this step, folks – safety should always be your top priority.
- 7. Finally, it’s time to put it all together and test your cold plunge. Fill the tank with water, turn on the chiller unit, and wait for it to reach the desired temperature. I like to monitor the temperature closely to ensure it’s within the safe range, and once it’s ready, I’m in for a refreshing and rejuvenating soak.
Building My Cold Plunge Lab
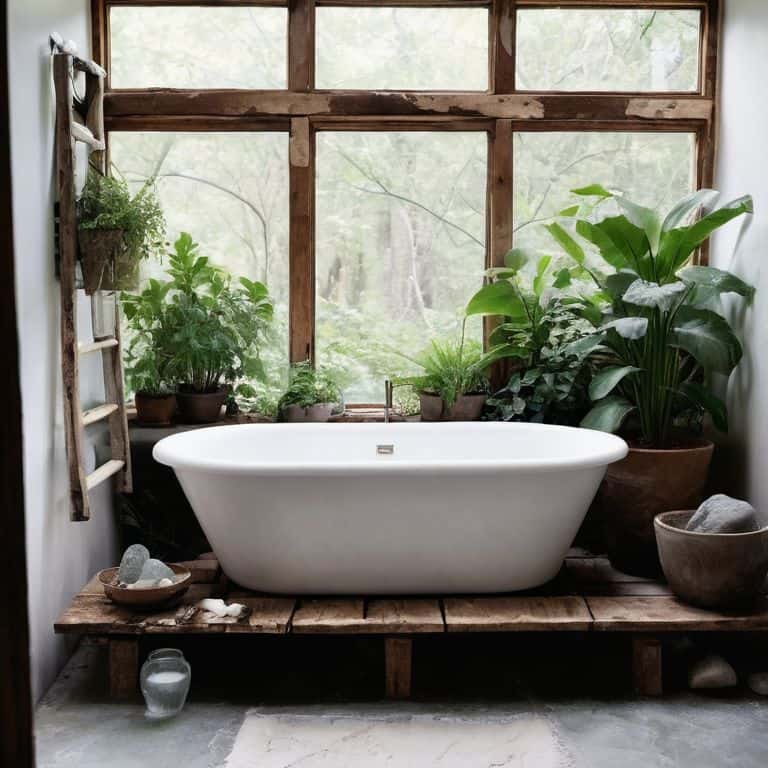
As I dove into building my cold plunge lab, I realized that cold water therapy benefits go far beyond just recovery – it’s a game-changer for mental clarity and focus. I opted for a diy cold plunge tub to ensure I could customize every aspect to my liking. The process was surprisingly straightforward, and I was able to repurpose an old tub to create the perfect vessel for my cold water experiments.
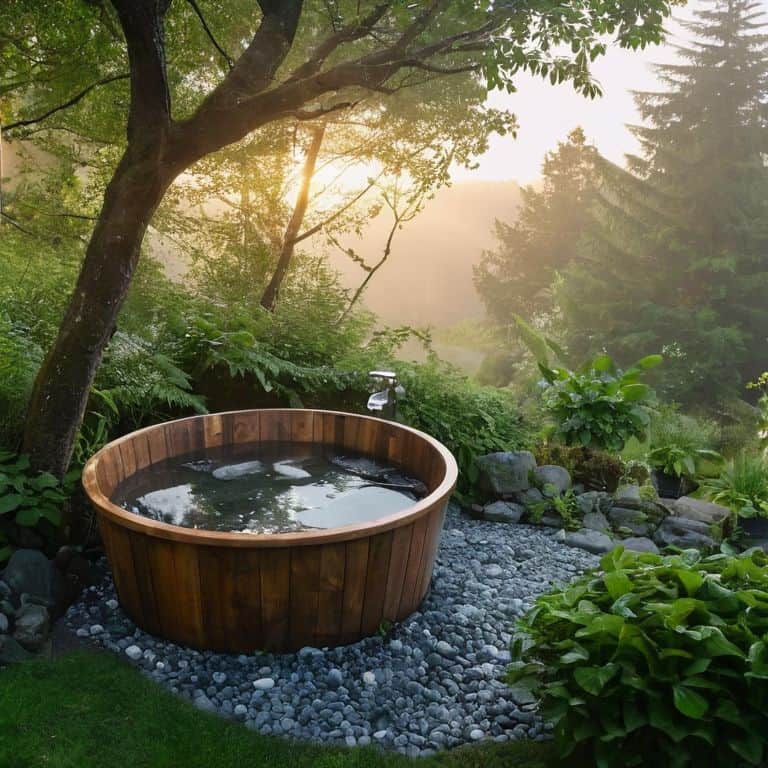
When it comes to installation, consider the outdoor cold plunge installation route if you have the space. Not only does it save on indoor real estate, but it also allows for a more immersive experience. However, don’t forget to prioritize cold plunge safety precautions – a non-slip surface and easy exit strategy are must-haves. I also made sure to research cold plunge maintenance tips to keep my new setup in top condition.
For those with limited space, don’t worry – you can still reap the benefits of cold water therapy with a small space cold plunge design. I’ve seen some genius solutions using repurposed containers or compact tubs. The key is to get creative and think outside the box (or tub, in this case). By doing so, you’ll be well on your way to unlocking the full potential of cold water therapy and taking your recovery to the next level.
Cold Water Therapy Benefits Unlocked
As I dove deeper into the world of cold water therapy, I discovered a plethora of benefits that went beyond just physical recovery. The science-backed advantages of regular cold plunges, such as increased mental clarity and boosted immune systems, had me hooked. I began to track my progress, monitoring my cortisol levels, sleep quality, and even my glucose levels using my trusty continuous glucose monitor. The data was astounding – my body was responding in ways I never thought possible.
With each passing day, I felt my mental and physical resilience increasing. The cold water therapy was unlocking a new level of human performance within me, and I was determined to optimize its effects. By combining my cold plunges with high-intensity interval training and a tailored nutrition plan, I was able to amplify the benefits and take my wellness to the next level.
Diy Cold Plunge Tub Secrets Revealed
As I dove deeper into my cold plunge experiment, I discovered a few game-changing secrets to enhance the experience. Insulation is key – I used a combination of foam board and reflective insulation to keep the cold in and the warm out. This simple hack has allowed me to maintain icy temperatures for hours, making my plunge sessions even more effective. I also invested in a high-quality chiller, which has been a total revelation – it’s like having my own personal ice bath on demand.
By implementing these tweaks, I’ve been able to optimize my cold plunge for maximum recovery benefits. The results have been astounding – my muscle soreness has decreased significantly, and I feel more energized than ever.
My Top 5 Cold Plunge Hacks for a DIY Pro
- Choose the right materials: I used a food-grade stainless steel tub to ensure durability and safety
- Size matters: opt for a tub that’s at least 4-6 feet long to allow for full immersion
- Temperature control is key: invest in a reliable thermometer and aim for temperatures between 40-55°F
- Add some comfort: I installed a non-slip floor and a few underwater lights to enhance the experience
- Monitor your progress: track your cold water therapy sessions and monitor your body’s response to optimize results
My Top 3 Takeaways from Building My Own Cold Plunge
I’ve experienced a significant boost in my mental clarity and focus after incorporating cold water therapy into my daily routine, which I attribute to the increased release of certain neurotransmitters
Building my own cold plunge has been a game-changer for my athletic recovery – the reduction in muscle soreness and inflammation has allowed me to push myself harder in my high-intensity interval training sessions
Through tracking my body’s response to cold stress using my continuous glucose monitor and other wearable devices, I’ve gained valuable insights into my physiological response to cold water therapy, which I can use to further optimize my wellness routine
Diving into the World of Cold Plunges
Building your own cold plunge is not just about the DIY process – it’s about unlocking a new level of mental and physical resilience, and I’m living proof that with the right tools and a willingness to experiment, you can transform your health and performance in ways you never thought possible.
Sloane Knight
Taking the Plunge: My Journey to Next-Level Recovery
As I reflect on my experience building my own cold plunge, I’m reminded of the numerous benefits of cold water therapy – from reduced inflammation to improved mental clarity. Through this project, I’ve not only created a powerful tool for my own recovery but also gained a deeper understanding of the science behind cryotherapy. By following the step-by-step guide I provided earlier, you can unlock these benefits for yourself and start experiencing the transformative power of cold water therapy.
So, I encourage you to take the leap and start building your own cold plunge today. Remember, it’s not just about the destination – it’s about the journey of self-experimentation and discovery. As you embark on this project, keep in mind that the true magic happens when you combine cutting-edge technology with a willingness to push beyond your limits. With persistence and dedication, you can unlock a new level of human performance and join me in the pursuit of optimal wellness.
Frequently Asked Questions
What are the ideal dimensions for a DIY cold plunge tub to ensure maximum benefits and safety?
For my own DIY cold plunge, I opted for a tub that’s 4-6 feet long, 3-4 feet wide, and 5-6 feet deep – this size allows for full immersion and comfortable seating. These dimensions have worked amazingly well for me, but feel free to experiment and find what works best for your own space and needs!
How do I maintain the right water temperature in my cold plunge, and what equipment do I need for this?
To maintain the perfect chill, I use a chiller unit and a thermometer – it’s all about precision. I also add ice as needed to keep my cold plunge between 39°F and 55°F. Trust me, it’s a game-changer for recovery.
Are there any specific materials or coatings I should use for the tub to prevent bacterial growth and ensure durability?
I used a food-grade stainless steel tub and applied a non-toxic, antimicrobial coating to prevent bacterial growth. I also added a UV sterilizer to keep the water clean. Trust me, it’s worth the investment – my cold plunge has been bacteria-free for months, and it’s still going strong!